3D Printed Rose Pen Holder: Concept, Modeling, and Painting
08 Jul 26 (3mo ago)
My mother's nickname is "Rose," and I have always wanted to try my hand at painting a custom 3D printed object. Hence, this DIY project was born. Not much of an origin story. 🤪
Concept: Designing a Custom Pen Holder
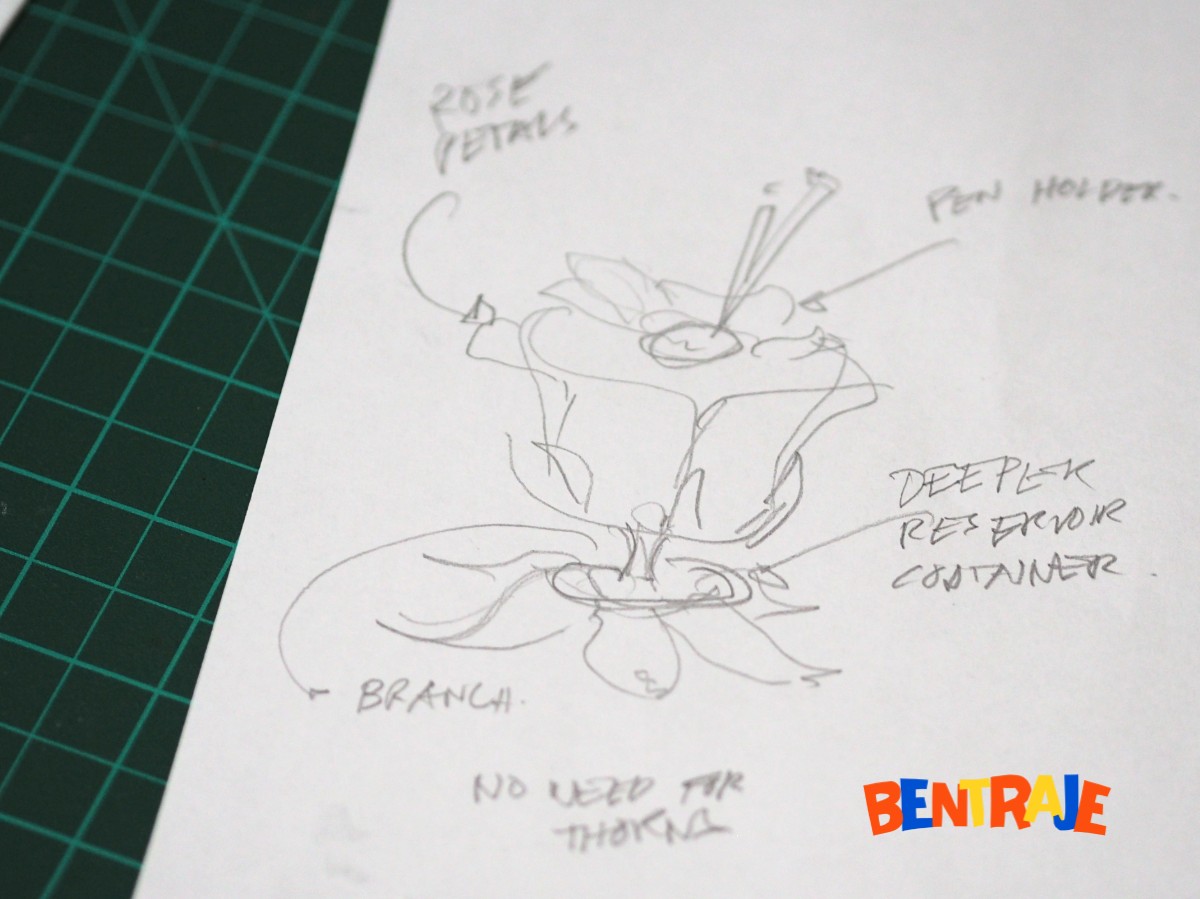
My initial concept was a hybrid: a pen holder combined with some sort of mini container at the base. I was just feeling sassy because I haven't really seen anything like it out there.
When it came to the actual design, it kinda works. But for it to hold something significant at the bottom, the leaf base needs to be wider, and there is a visible branch/stalk. It kinda ruins the overall silhouette.
Another design iteration removed the stalk, but made the leaf much wider like a water lily. In this case, the giant water lily leaf overpowered the rosebud, making it awkward to look at.
There is always the option of having a rosebud on one side and the container on the other, which is what you see more often. But I wanted something integrated as one whole piece to maintain a clean silhouette.
So, I ended up just settling for a dedicated, standalone pen holder.
3D Modeling: Fixing Artifacts with ZBrush and Houdini
The modeling phase wasn't quite a bottleneck since the concept was a straightforward text-to-image, then image-to-model AI generation. The real work was in the post-processing.
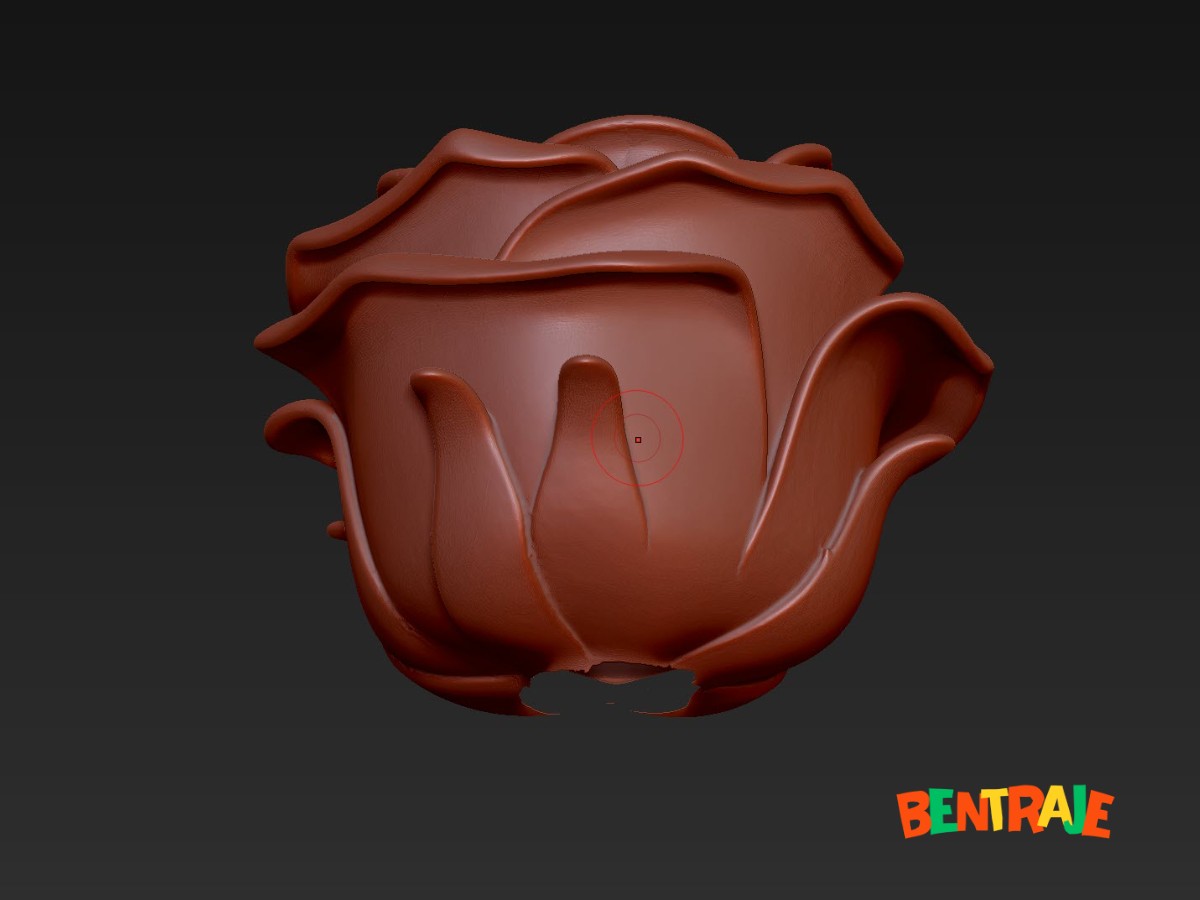
I used ZBrush for removing some unwanted parts. Initially, the AI gave me a questionable number of petals. It was like getting the classic "multiple fingers" from early AI image generation, but in this case, it was leaves! Fixing it was just an easy isolate, separate, and then Dynamesh in ZBrush.
Normally, I would retopo these models, but since I'm not rigging them for animation, the geometry is fine as is.
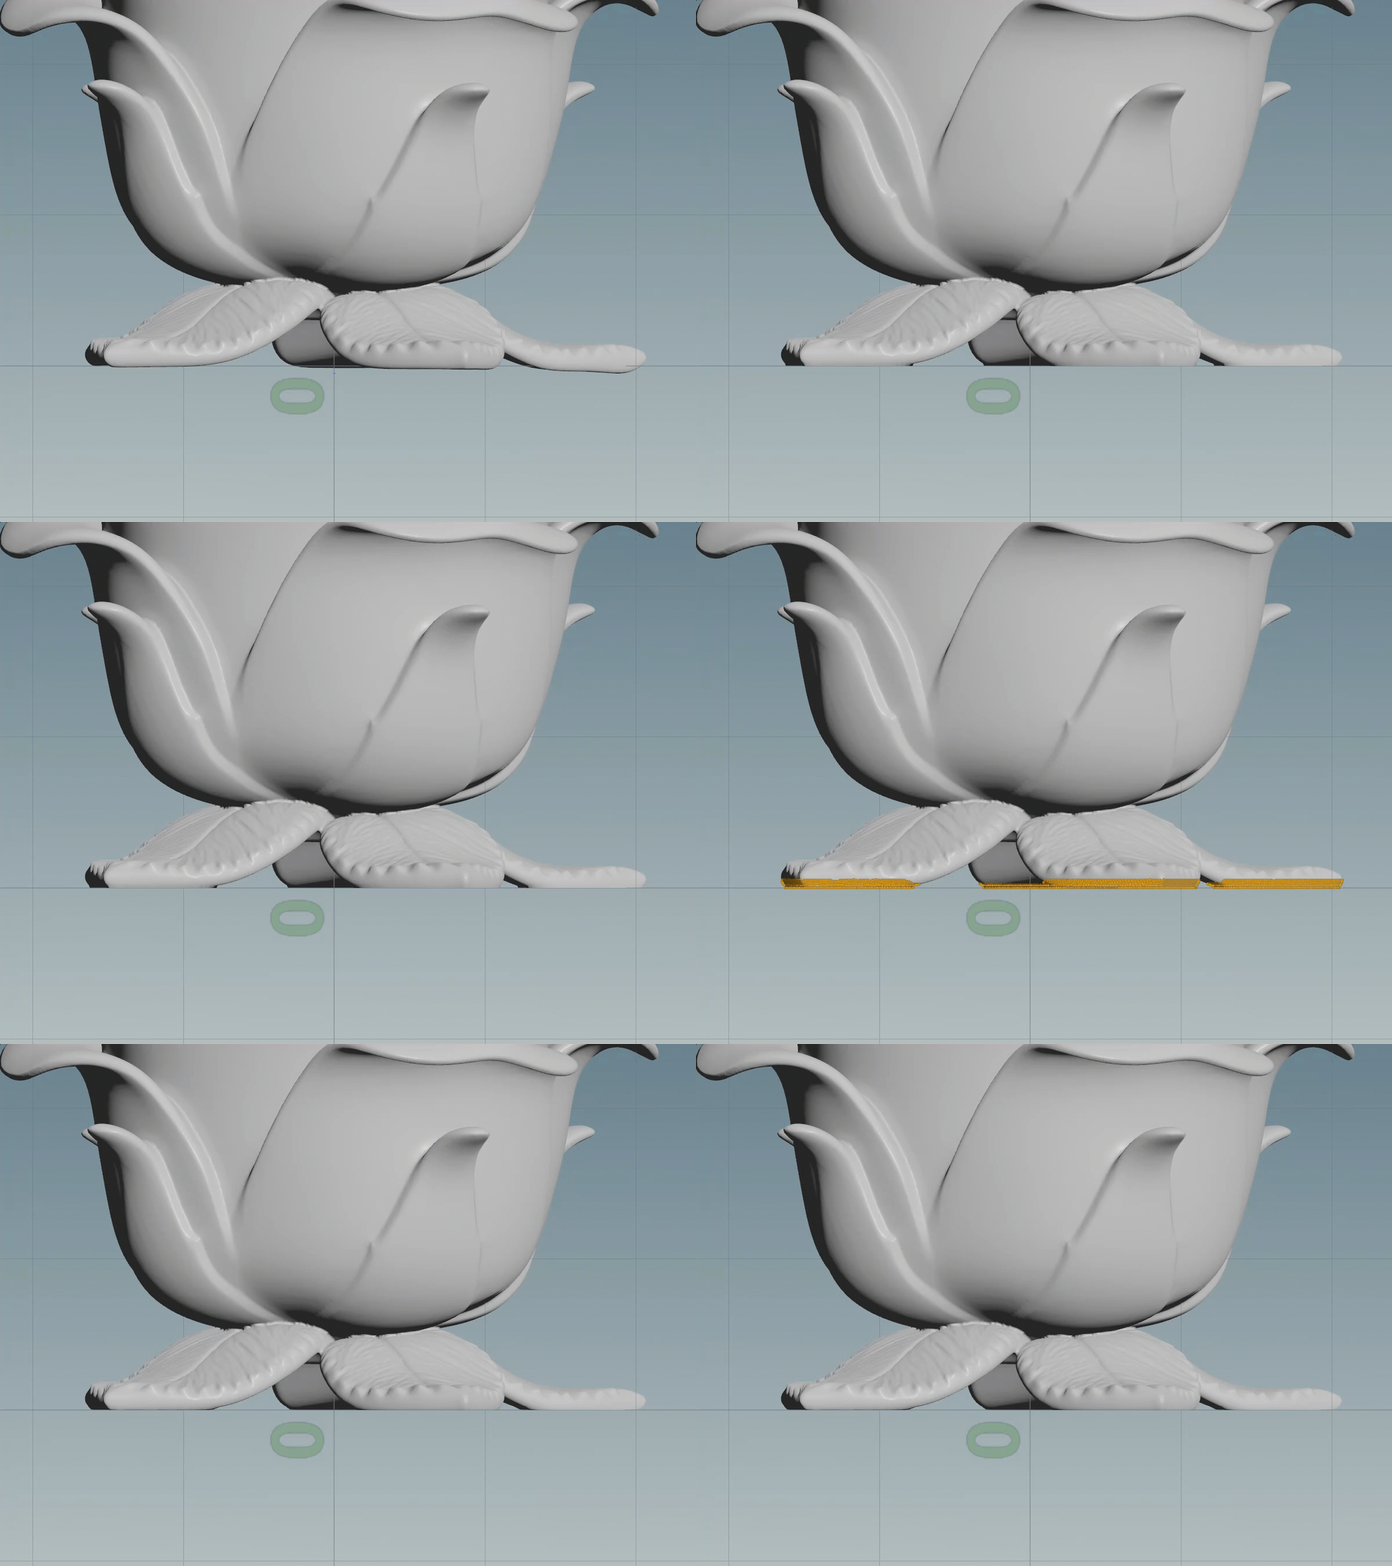
Next, I used some Houdini wrangling to ensure the base parts of the 3D model were perfectly leveled to the ground for printing.
f@threshold = chf("threshold");

if (@P.y < @threshold) {
    // Snap the point to Y = 0
    @P.y = 0.0;

    // Add the point to a group named "flattened_pts"
    @group_flattened_pts = 1;
}
I had to create a group out of it, plug it into a groupexpand, and finally run it through attributeblur to smooth out the transition. I've never really had much luck with the actual smooth node. 😅😅
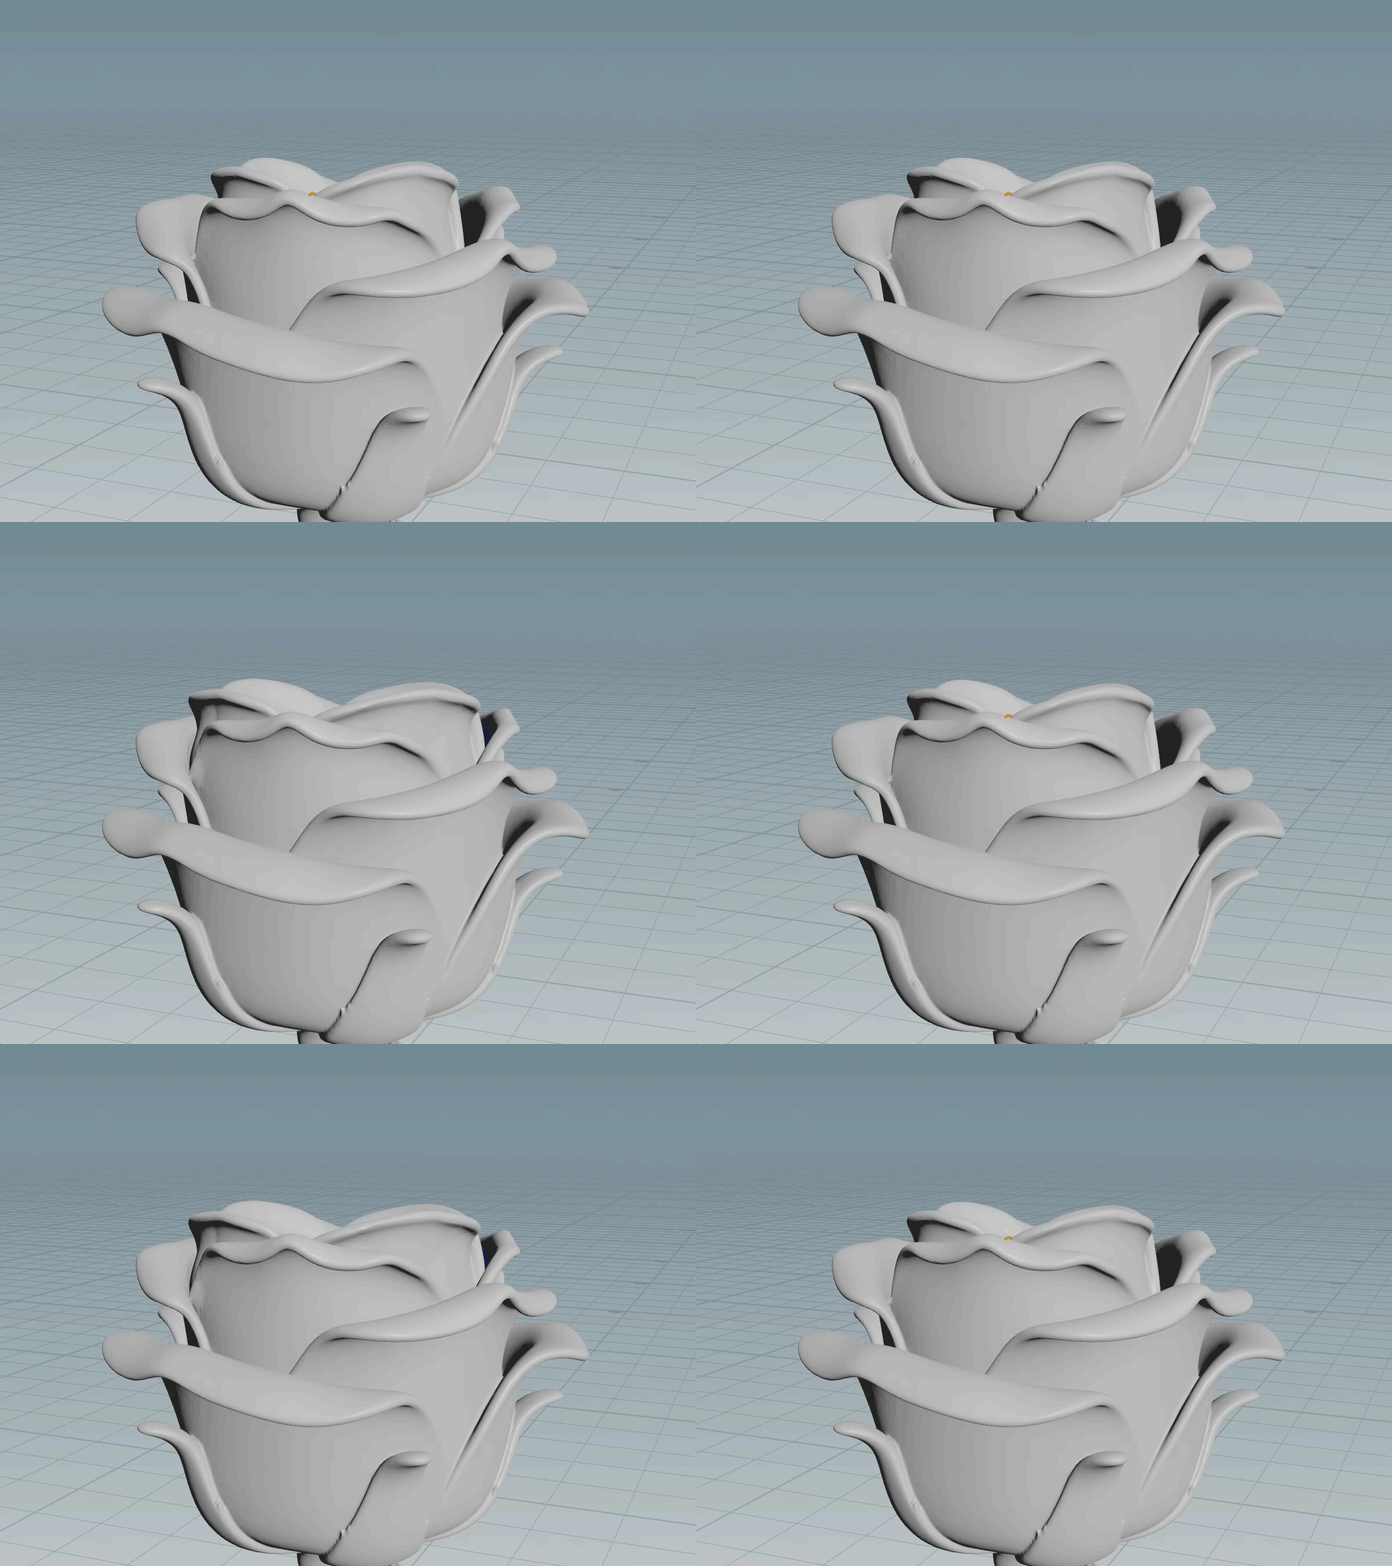
The holder section was now much wider, but that introduced a new issue: petals intersecting. I originally thought the 3D slicer could just figure it out. Apparently, that also has to be fixed before slicing. 🧐
Priming and Painting the 3D Print
There is nothing particularly professional about this part, as I have little to no experience in acrylic painting. My abysmal abstract watercolors back in kindergarten don't count!
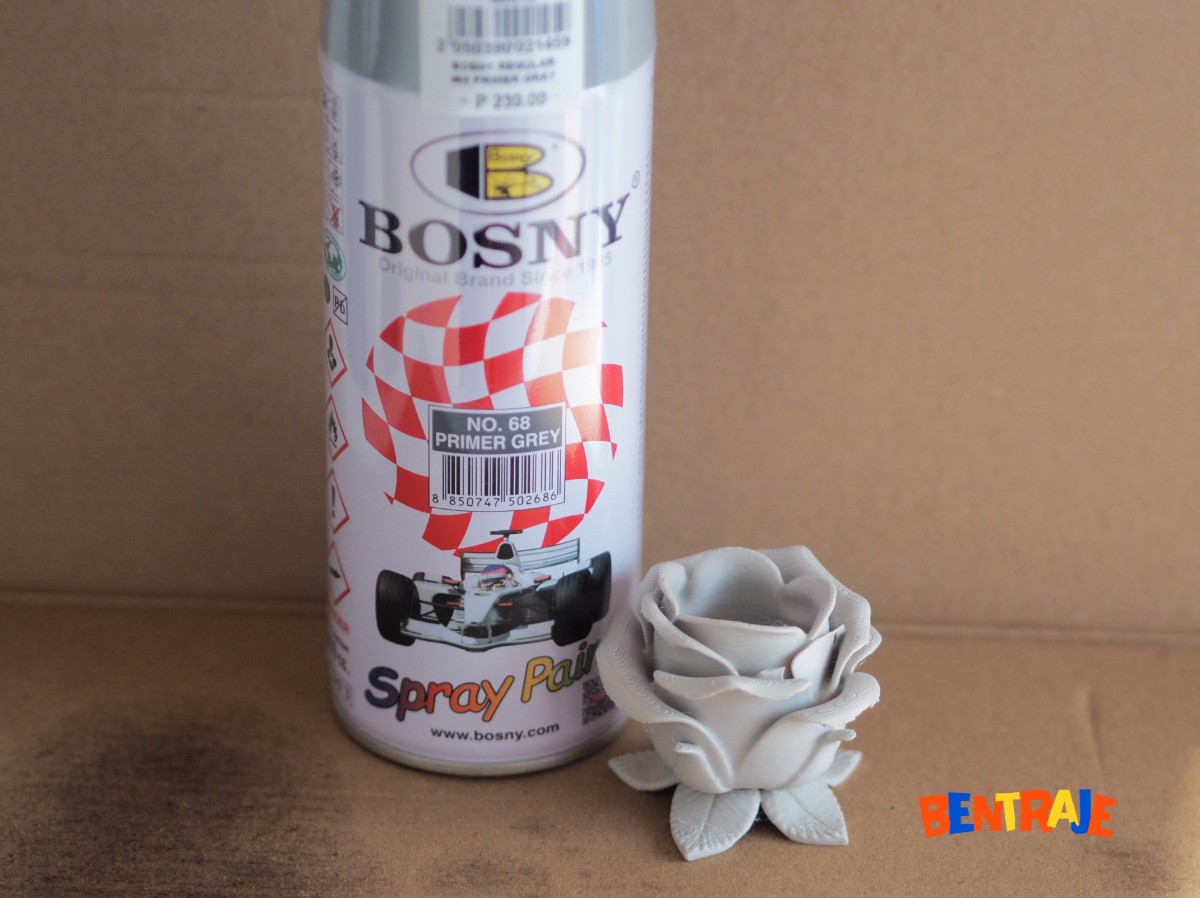
All I knew going in was that you should use a primer before painting so the acrylic actually grabs onto the PLA surface. What I didn't know was that applying too much primer is counterintuitive. There were areas that became too matte because of primer pooling, and when I painted over those sections, the paint just wouldn't stick. Lol.
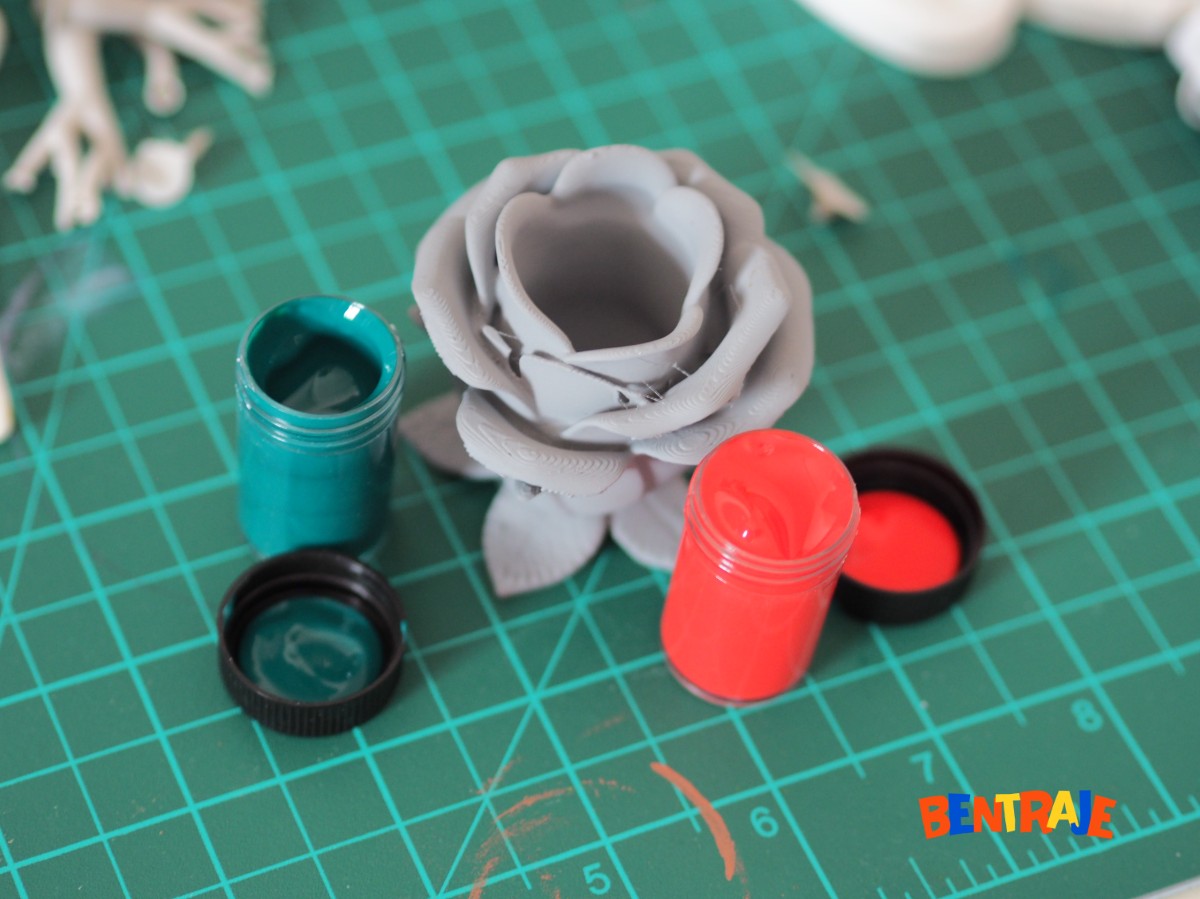
I kept it simple by only doing solid blocks of a single color. No complex gradients at all!
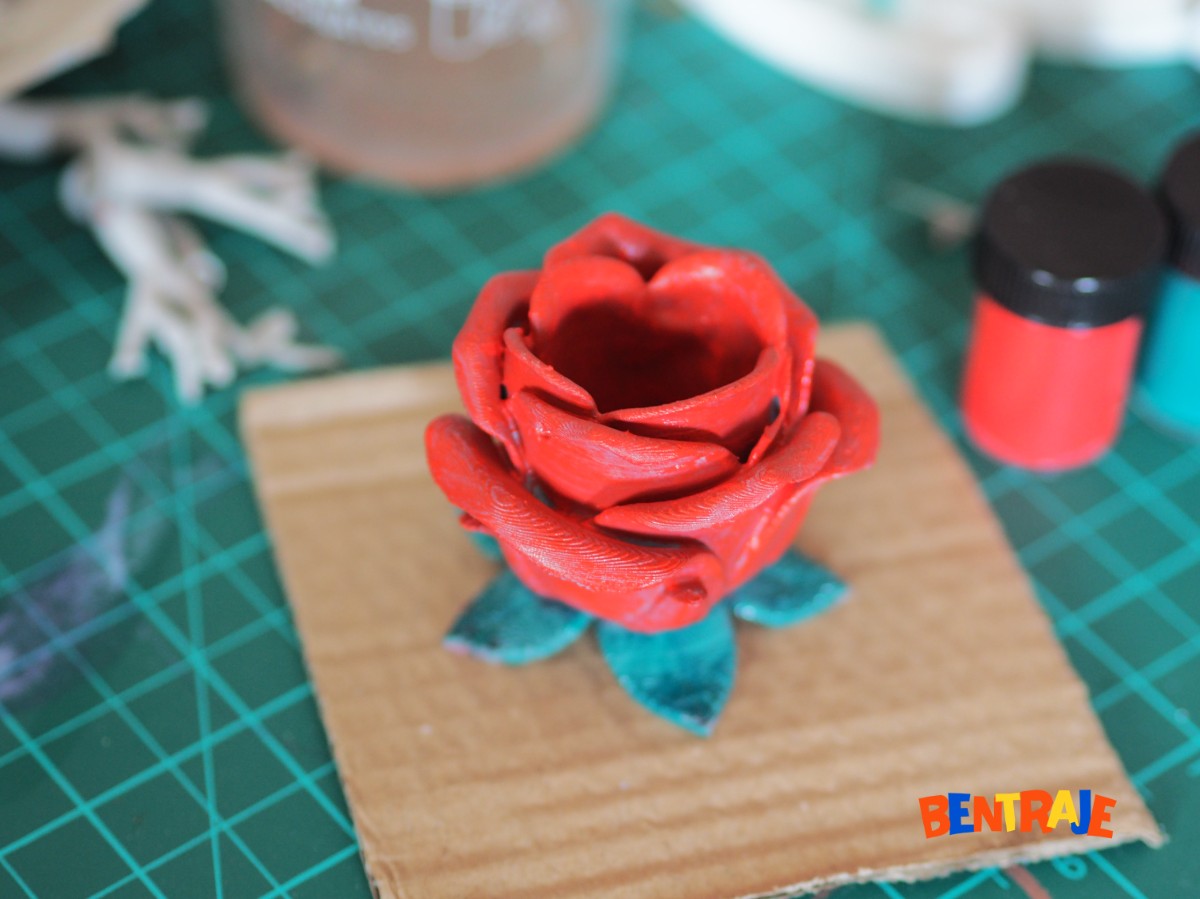
I was hoping I could hide the 3D layer lines after several coats of paint, but they definitely still exist. I had thought about sanding it beforehand, but I was worried the friction might break the delicate petals.
Next time... maybe I'll just print them in colored filament. Probably much easier. Or at least get a much finer brush size! The one I had was way too big for this level of detail. The colors keep bleeding againist each other in each pass.