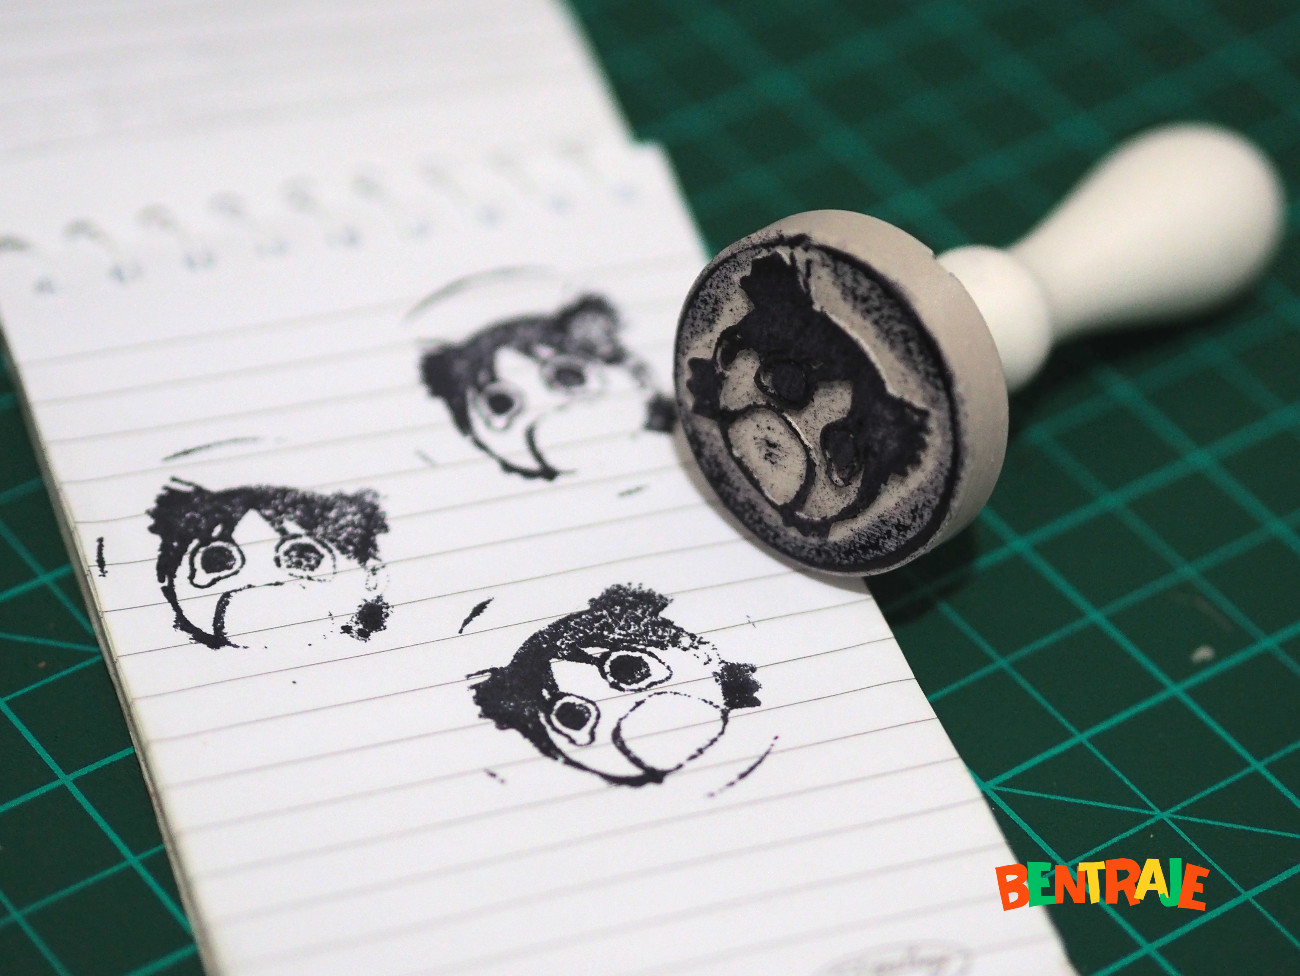
Making a Custom 3D Printed Stamp: Yotsuba Expressions Using Houdini
07 Jul 26 (3mo ago)
I'm a massive fan of Yotsuba&! by Kiyohiko Azuma (also creator of Azumanga Daioh). It's the only manga that I consistently read in its original Japanese. This cheeky child brings me so much joy—and it’s way cheaper than therapy!
Once I got my hands on a 3D printer, I started wondering: could I create a physical representation of Yotsuba? A miniature would be a treat but for now I'll settle with a custom 3D printed ink stamp?
From 2D Manga to 3D Model

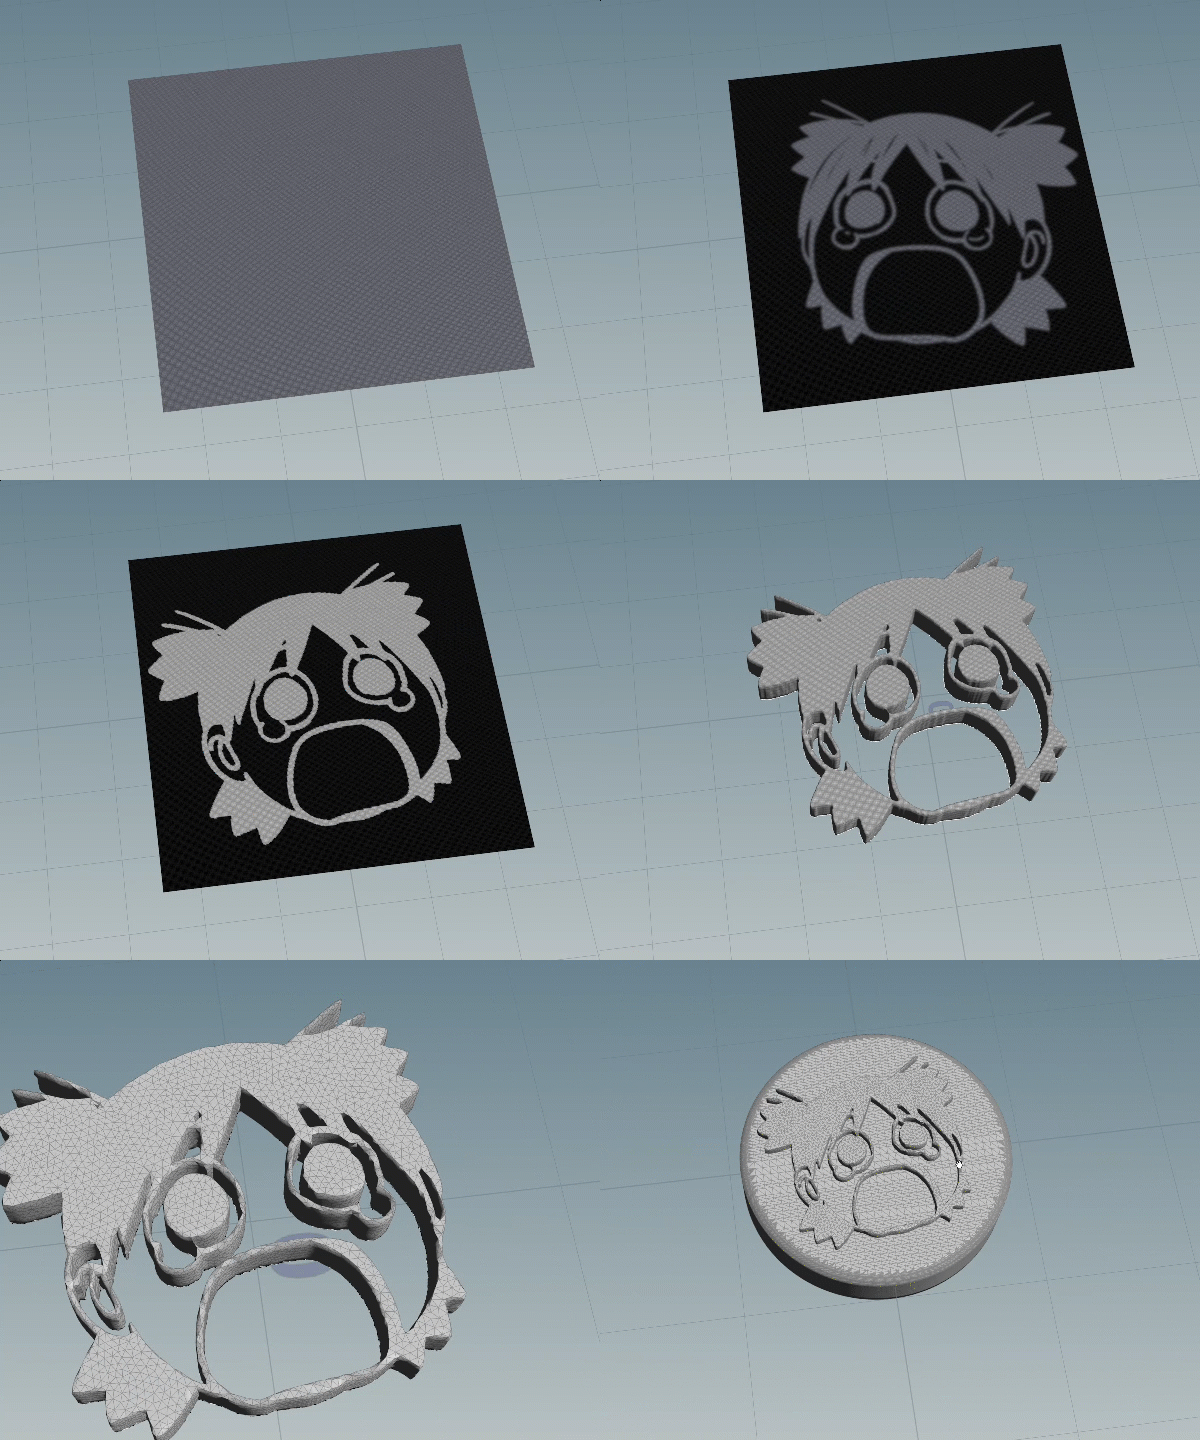
The face images were sourced directly from the manga. To prep them for 3D modeling, I post-processed the illustrations into pure black-and-white silhouettes and imported them into Houdini.
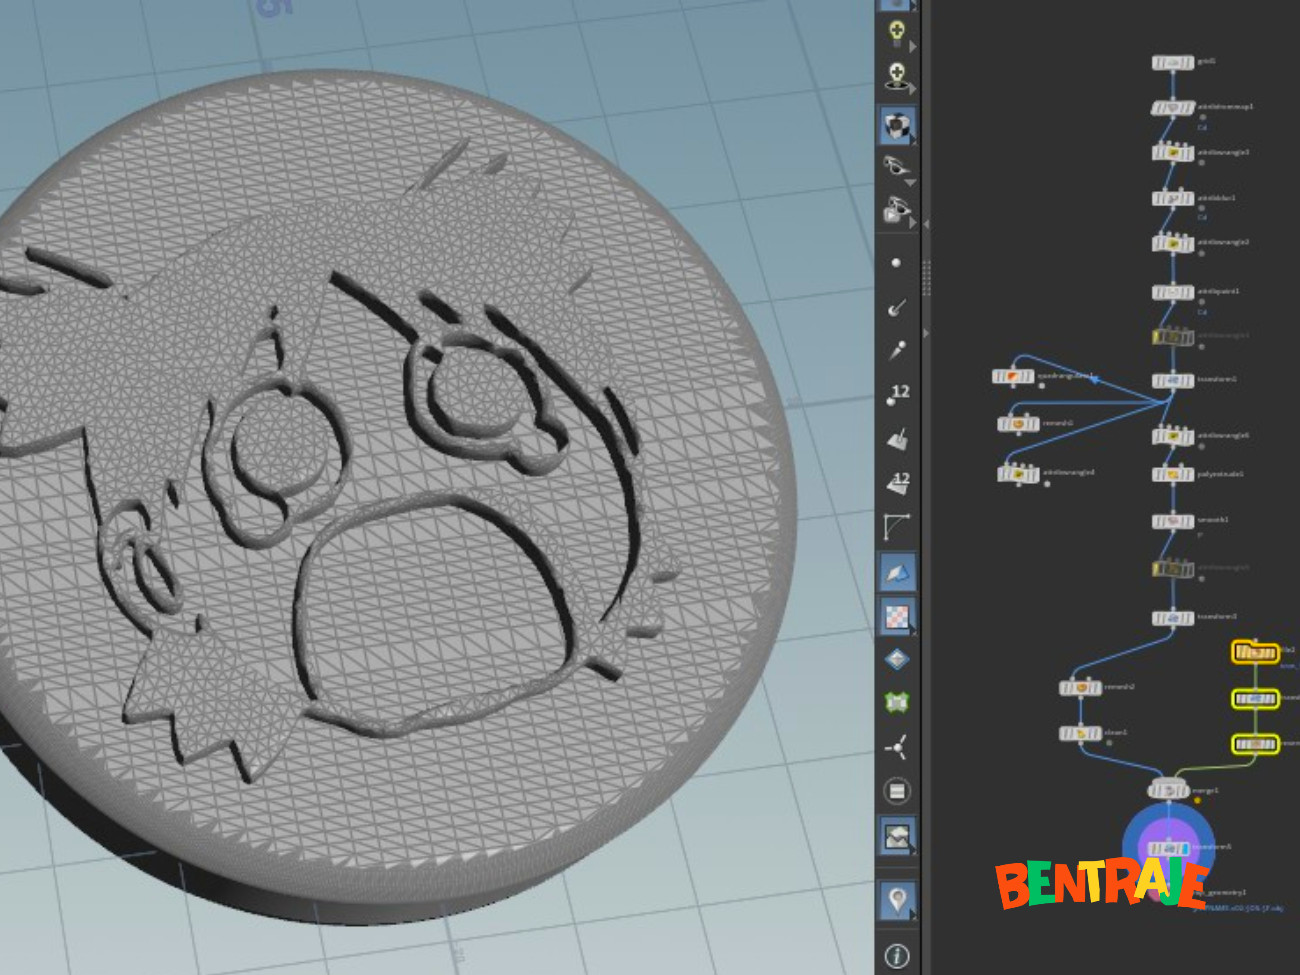
Using Houdini made this entire process significantly easier. Because of its procedural nature, I could spend the bulk of my time on a single node setup. Once the core system was built, generating new stamps was relatively simple as swapping the 2D image and adjusting a few parameters based on the specific expression.
The Stamp Mechanism
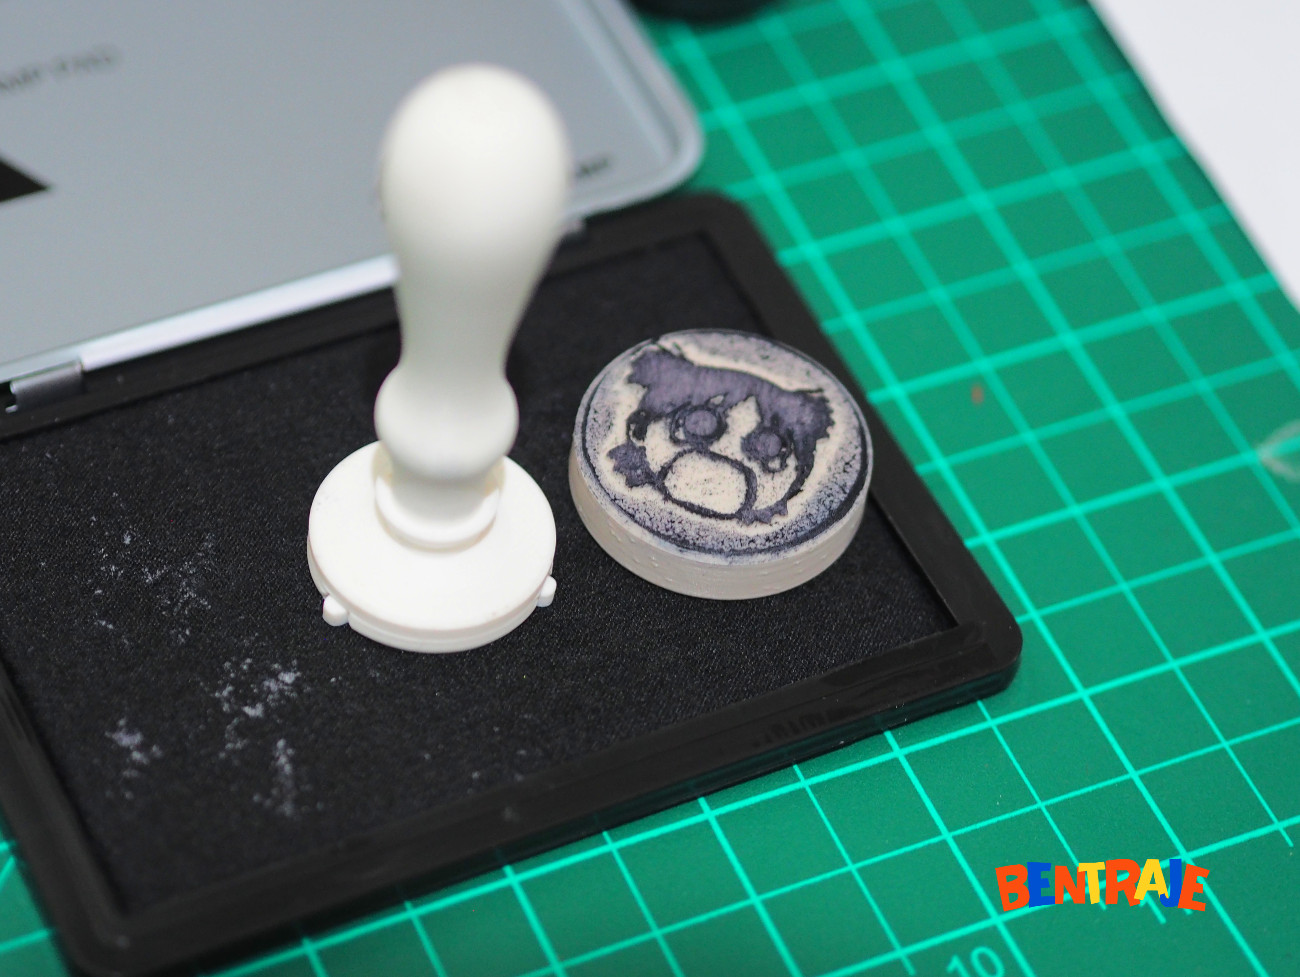
Thankfully, there is an already existing system by A.E.W.P.M..
Other systems can also work but I was just interested on the mounting system on this particular model.
The Challenge: Thin Lines
One thing that was a bit tricky to figure out was handling the single, delicate lines of the illustration—like the strokes representing the cheeks, jaw, and eyes. If I thickened the extrusion too much to make the stamp durable, it would bleed into and distort the rest of the facial features. Finding that perfect balance took some trial and error.
The Right Filament: PLA vs. TPU for Stamping
If you are trying this yourself, I highly recommend using a flexible or elastic filament like TPU.
I printed this initial batch using standard PLA. Because PLA is rigid, standard office ink doesn't stick to it very well, and the hard plastic doesn't conform to the paper. I did sand the surface of the stamp, which yielded a much better result than the raw print, but I still have to press down incredibly hard to get a clean transfer.
A quick search suggested an alternative: using a fine-art, pigment-based ink pad (like VersaFine). Because it's pigment-based, it adheres much better to rigid plastics like PLA compared to cheap, dye-based office ink. For now, though, I think I'll just wait for my delivery of flexible filament to get that true rubber-stamp feel.