Making an Onibaba Cardboard Mask: A Pepakura Papercraft Fail
15 Jun 26 (4mo ago)
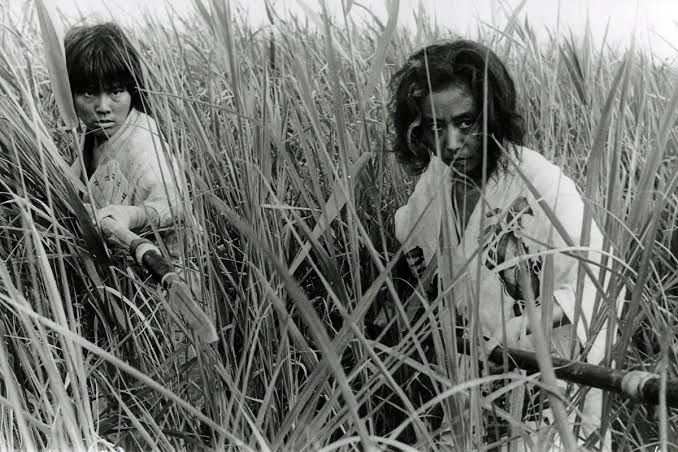
Last year, I watched the classic 1964 Japanese film Onibaba. I wouldn't exactly say it has stood the test of time, and having been to Japan several times, Hannya and demon masks aren't new to me. But this specific mask definitely stayed with me—maybe because of that fierce, elder feminine revenge vibe.
When I recently had a chance to fiddle around with Pepakura Designer, I wondered if I could recreate it.
DISCLAIMER: This project was actually a failed attempt, even though it wasn't my first time using Pepakura.
3D Modeling and Retopology
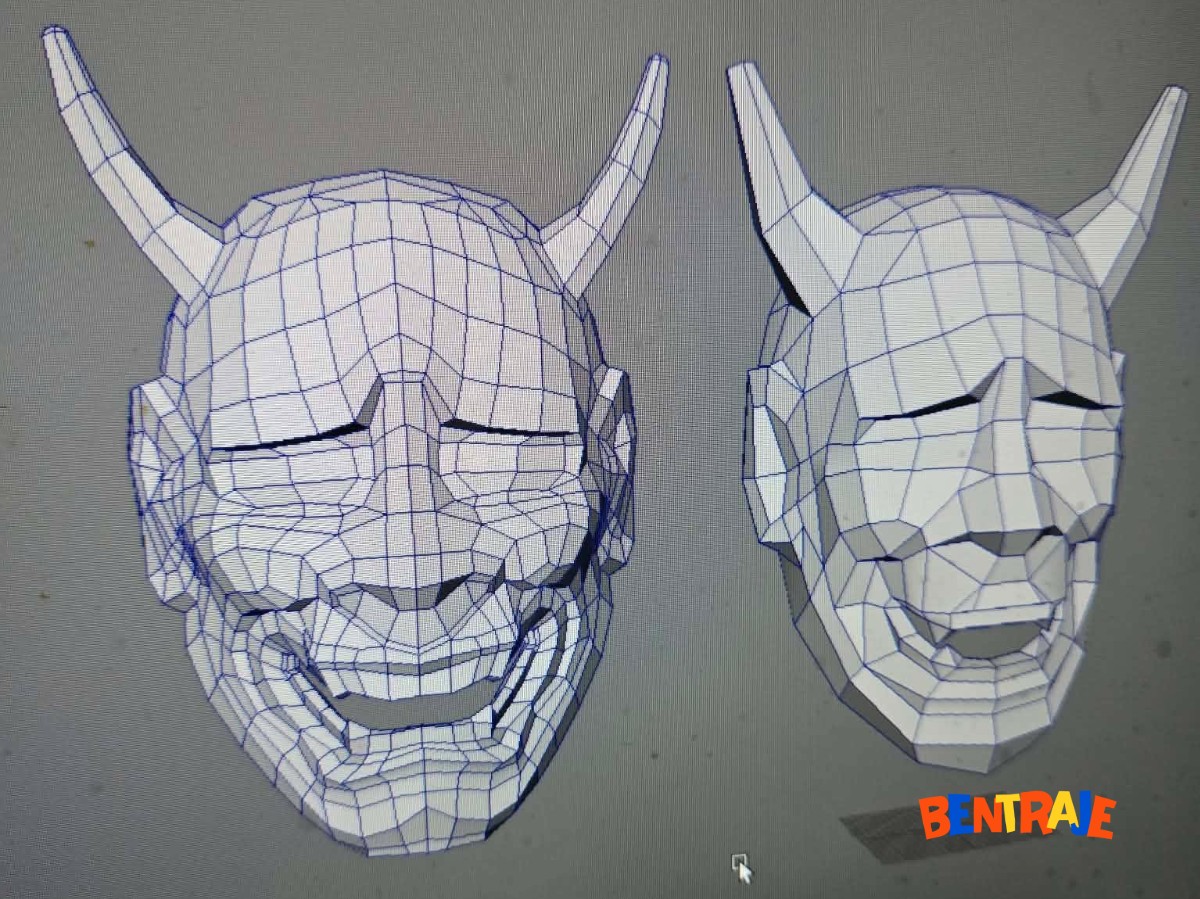
Creating a low-topology mask is relatively simple, but my main challenge was retaining the creases in the nasolabial folds (smile lines) to capture the mask's intense expression. As you can see comparing the left to the right, I went to great lengths merging edge loops to get the geometry just right.
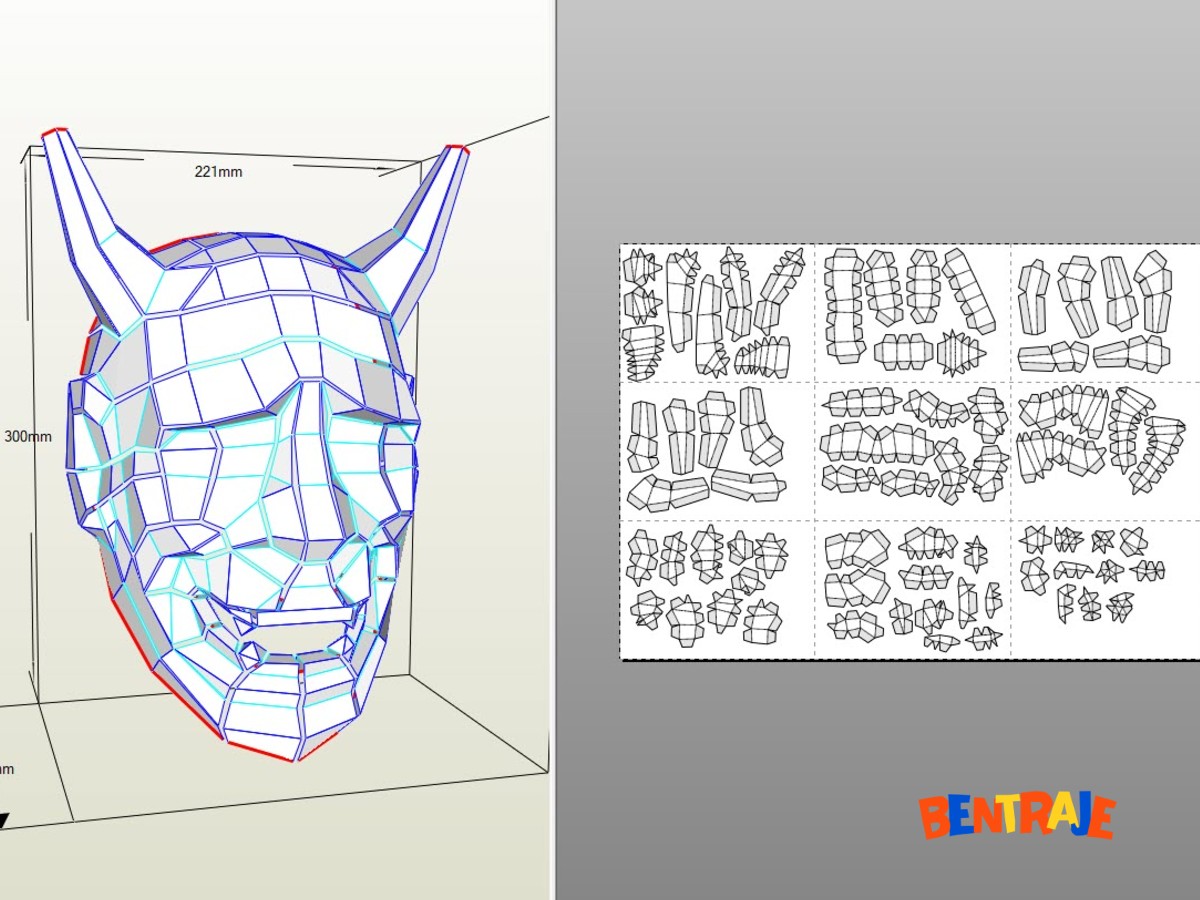
The Pepakura phase was relatively straightforward since this is an open model. It doesn't need to distort as much as a fully closed 3D object. That said, I really wish Pepakura had a symmetry feature. I'm not sure if we'll ever get one, considering how slow updates for the software roll out.
The Build Process (And Where It Went Wrong)
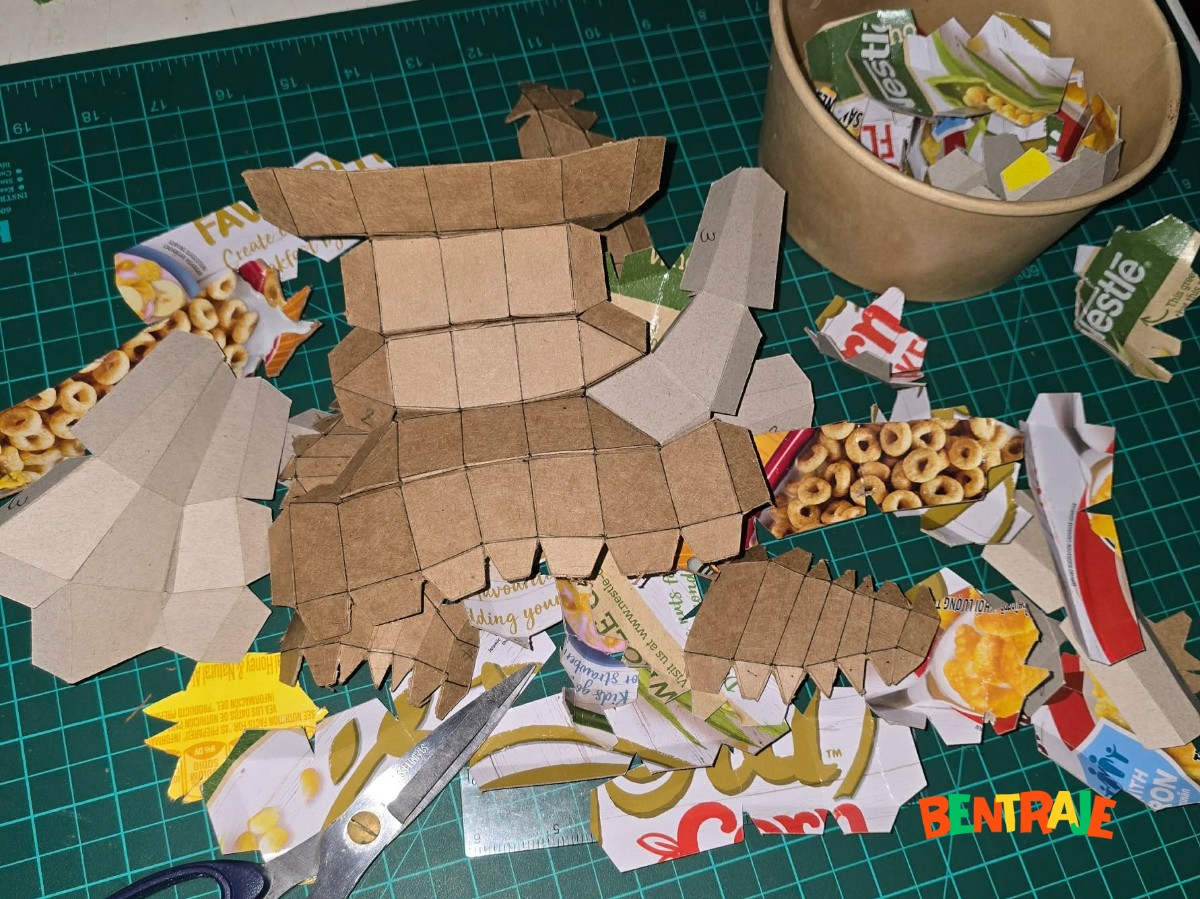
I decided to use upcycled cereal boxes for this project. Honestly, I intentionally bought cereal just so I could use the cardboard! (They do not taste as exciting as I remembered from my childhood. Or maybe I just grew up?)
Several hours into the project, I realized this was going to be much harder than I expected. I used my Silhouette Cameo 5 to cut the cardboard and speed things up, but the actual assembly was incredibly finicky.
I also ran into hardware issues. This was the first time my autoblade failed to set the proper depth. I had to manually click it into place, and sometimes I even had to fool the software into using a manual blade setup instead of the automatic one.
My biggest shortcoming, however, was assuming this thick cereal box cardboard would fold as easily as standard 210gsm cardstock. Even though my details were trimmed down, the material was just too stubborn.
The Final (Failed) Result
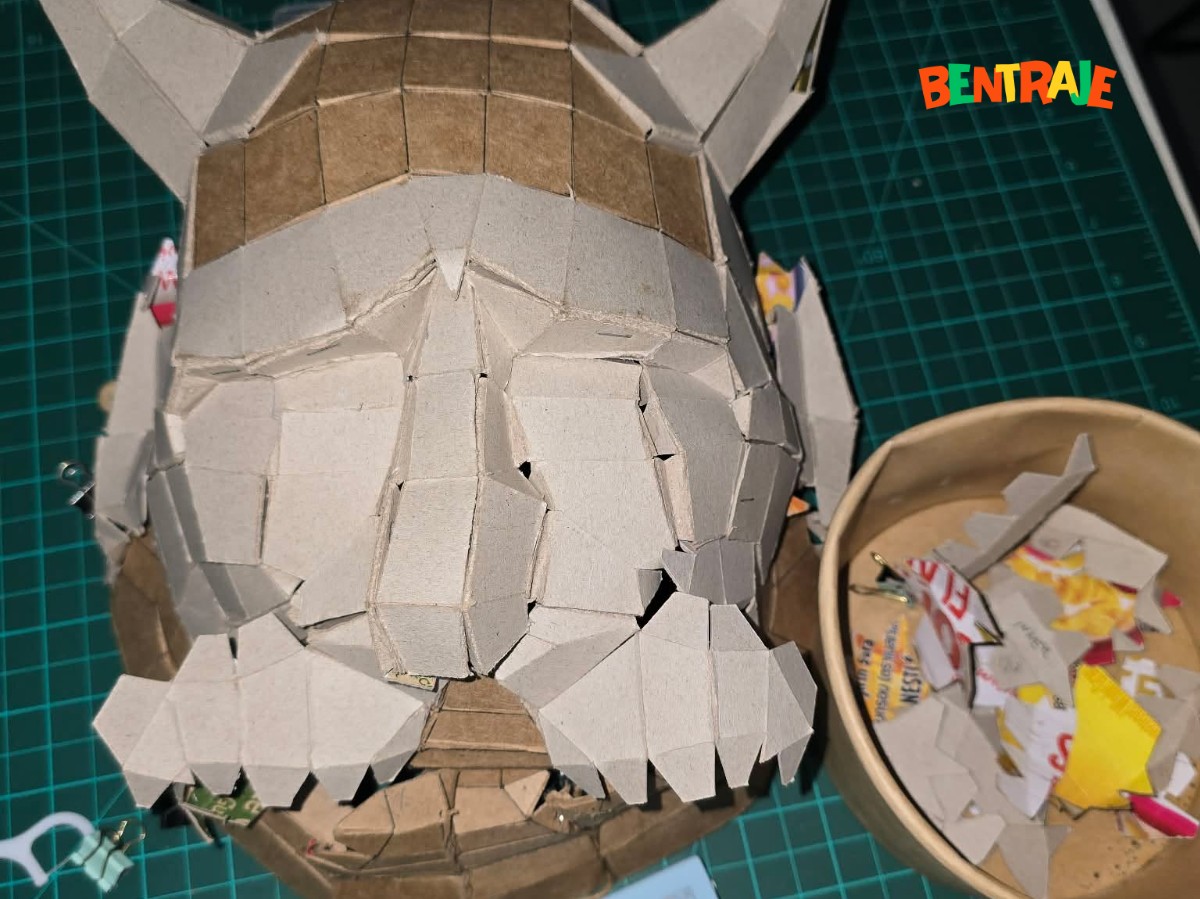
This was the final state of the mask before I threw in the towel and realized it just wasn't going to work.
The main problem areas were the intricate creases. It was nearly impossible to fold and connect those tiny flaps without tearing the cardboard or breaking my existing progress apart. I totally overcooked this one. I thought I could get away with the complex geometry because the mask was scaled larger than my previous attempts, but the thick material constantly fought against the connections, preventing me from closing the model.
Lessons Learned for Next Time
While categorically a fail, it was still a fun experiment (and a great excuse to catch up on my Netflix backlog). Looking back, here is what I would do differently:
- Simplify the Creases: I've seen super low-poly crafts work well, but I was too greedy with the details (like the deep forehead wrinkles and nasolabial folds). Next time, I need to reduce the complexity.
- Exaggerate Depth: If I really want to retain details in a low-poly papercraft, I should exaggerate the extrusion depth rather than strictly following the real-world proportions of the mask.
- Layering Instead of Flaps: Instead of trying to connect complex details via tiny folded flaps, I could use two separate models: a super low-poly base model, and a second detailed layer glued directly on top of it.
- Flatten the Teeth: Making the teeth fully three-dimensional was a mistake. They should have just been flat planes!