Simple 3D Pop Up Flower Card (Free Download Template)
24 May 26 (2mo ago)
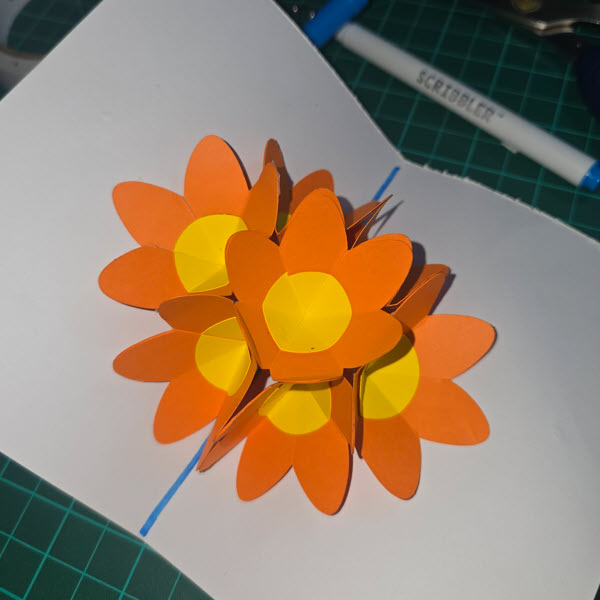
The completed 3D pop-up flower card, ready to impress.
I kept seeing this simple 3D flower pop-up card design everywhere, but I literally couldn't find a free paper cut template for it. So, I just went ahead and made my own. Not gonna lie, this is my first time making one of these so it might be clunky, but it'll totally get you started!
You can check the not-so-detailed step-by-step assembly guide below to create your very own 3D pop-up flower card!
Step-by-Step Assembly Instructions
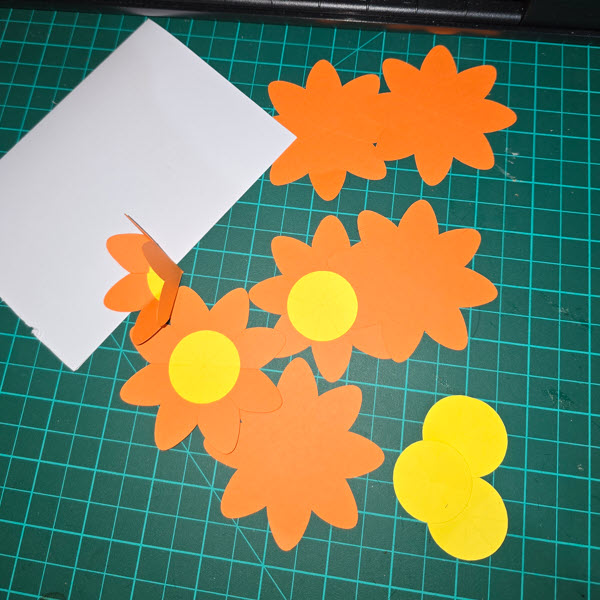
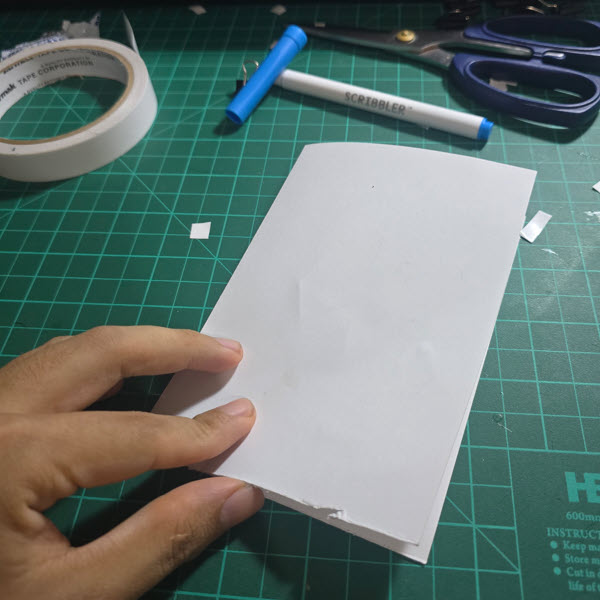
Cut out the template pieces. You should have 7 petals and 7 circles. The size of the actual base card doesn't matter, as long as the pop-up flower is positioned perfectly in the center of the fold.
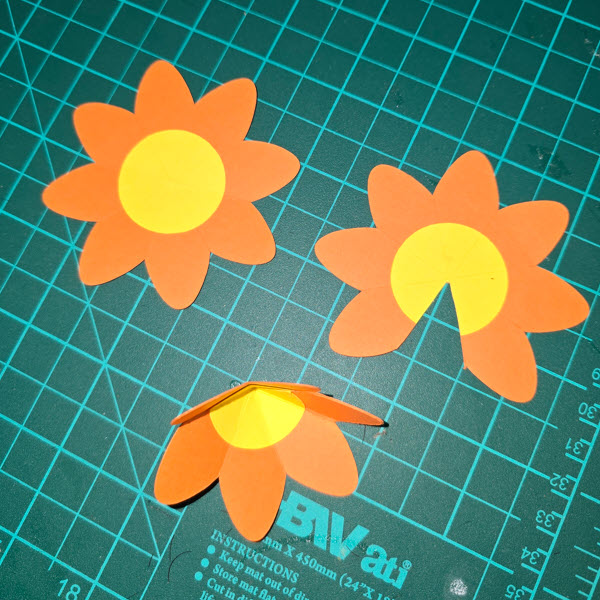
Combine the circles and petals. Clip one petal off (leaving 7 petals) and then merge it onto the others (forming a 6-petal cone).
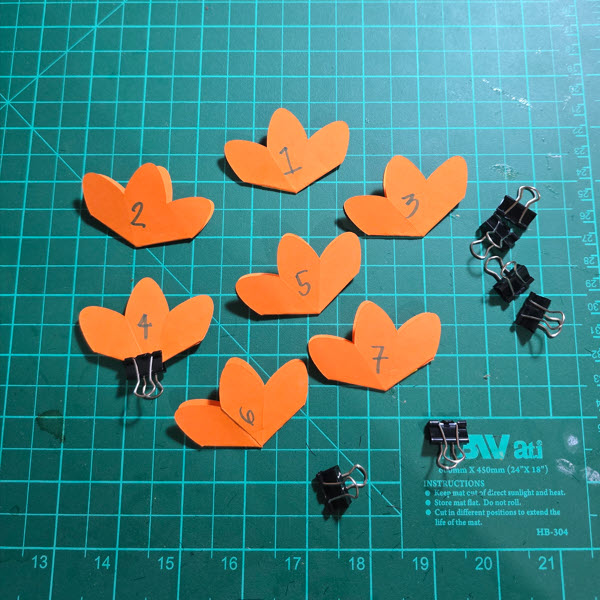
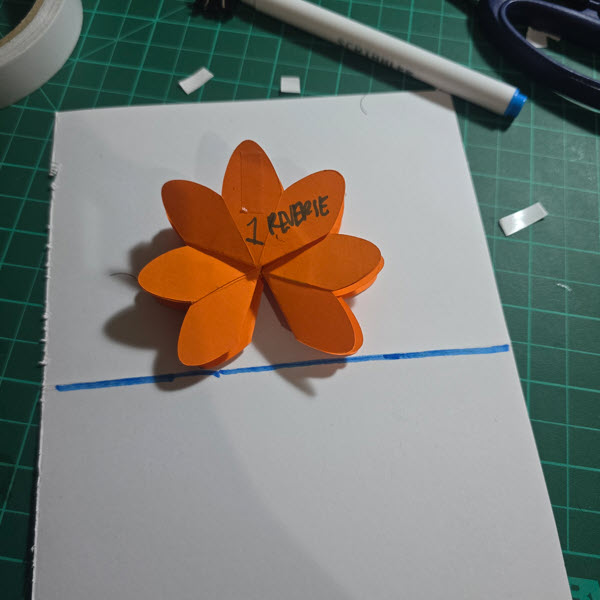
Fold each petal unit flat (resulting in 3 overlapping petals per unit). I've numbered them here to keep track, but it's optional.
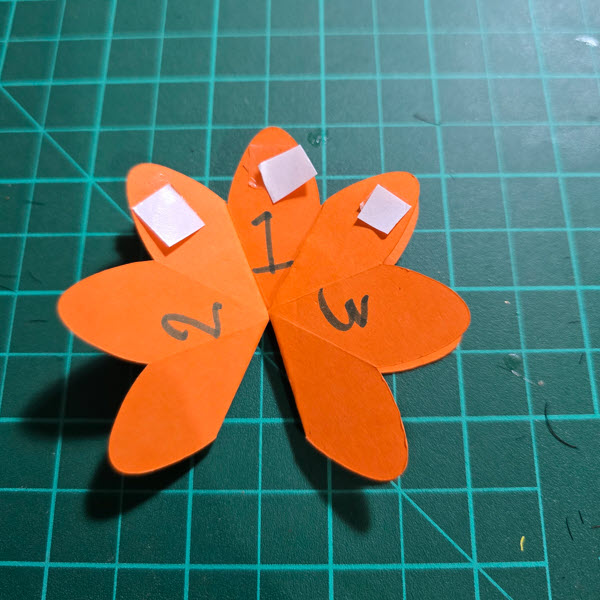
Begin joining the petals together before attaching them to the card. Combine petals #2 and #3 to petal #1. Double-sided tape is recommended for a strong, reliable hold. When adhering the petals to one another, make sure to only combine the very tips.
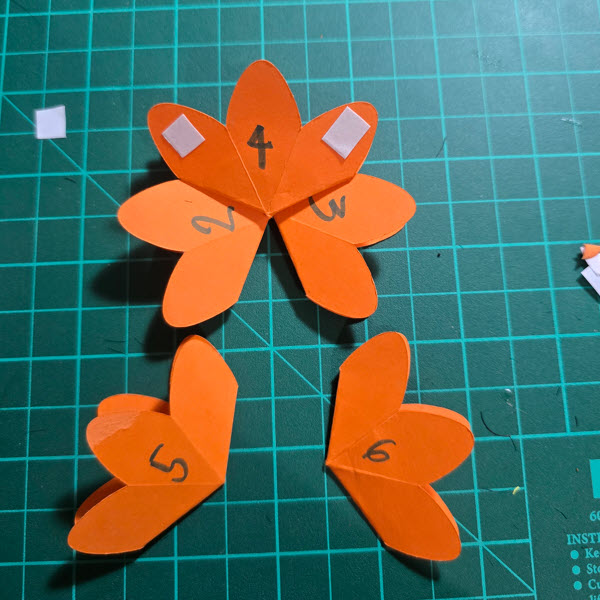
Attach petal #4 onto the combined 1, 2, and 3 petal unit.
Attach petal #5 to the left wing of petal #4, and petal #6 to the right wing of petal #4.
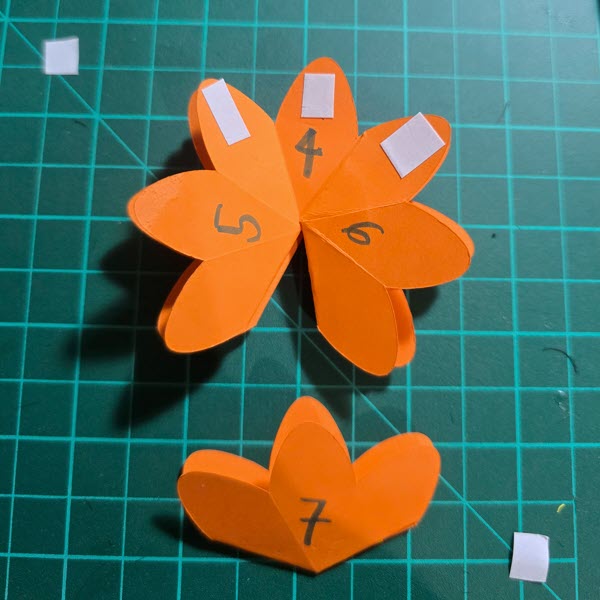
For the last piece, combine petal #7 onto petals 4, 5, and 6.
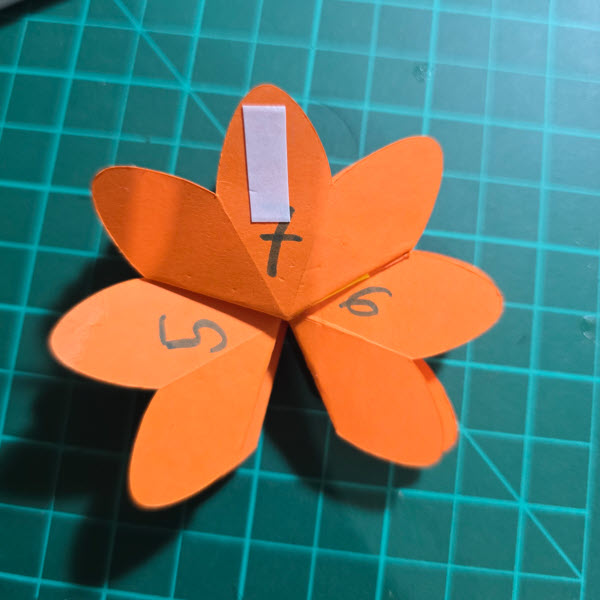
Apply adhesive to the back of petal #1 and petal #7 to attach the flower to the card.
Carefully place the folded flower onto the base card, positioning it just above the center fold line.
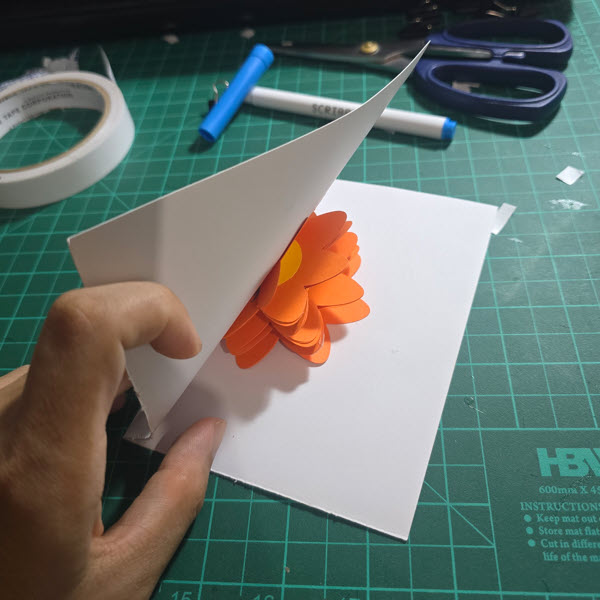
Close the card firmly. Since you already placed adhesive on the backs of petal #1 and #7, closing the card will paste them directly to the opposite sides.
Open the card to check the placement. A good litmus test is that everything should fold naturally since we placed the flower down while it was already folded.
And here is the final result! A stunning 3D pop-up flower.