My First 50 Hours of 3D Printing: Lessons, Prints, and PLA Matte
24 Jun 26 (4mo ago)
Here are some random notes and takeaways from my first 50 hours of 3D printing. I'm currently using the Bambu Lab A1 Mini (you can check out my dedicated thoughts on the printer here), and I’ve just about gone through my first roll of filament (white matte PLA)
I have to say, you can print a surprising amount of items with just one spool!
All the prints below were done using PLA Matte White. In hindsight, I probably should have chosen a muted white or grey for longevity. Most, if not all, of these models were sourced directly from MakerWorld. Here is a breakdown of what I printed and what I learned.
The Obligatory First 3D Print: Benchy
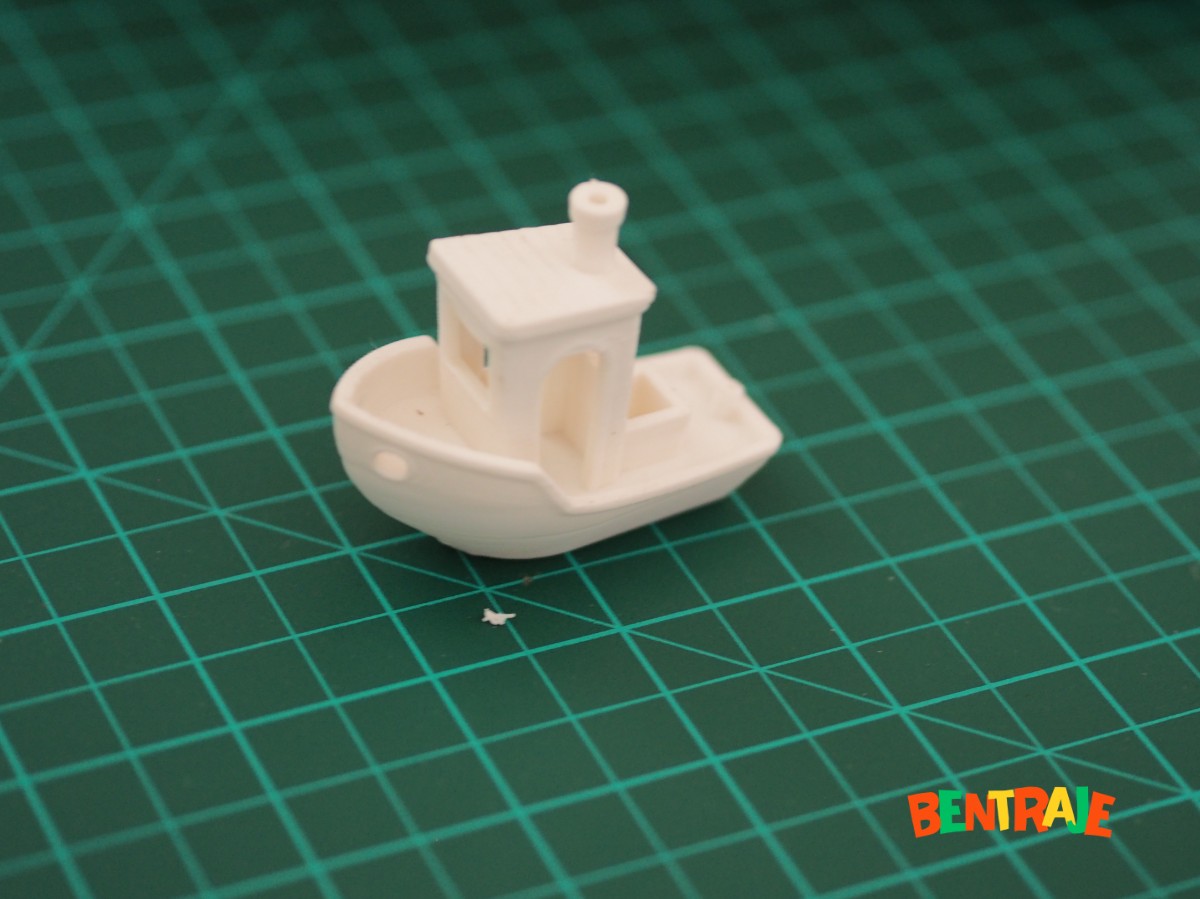
The obligatory first print for any beginner: Benchy! It isn't really functional; it's just a standard litmus test to see if your 3D printer and filament are working as expected.
Looking back, I would have preferred printing it through a slicer software rather than directly from the printer's default internal files. Doing so would have allowed me to compare the default slicer settings with my revised settings as I proceed.
Desk Accessories and Fidget Toys
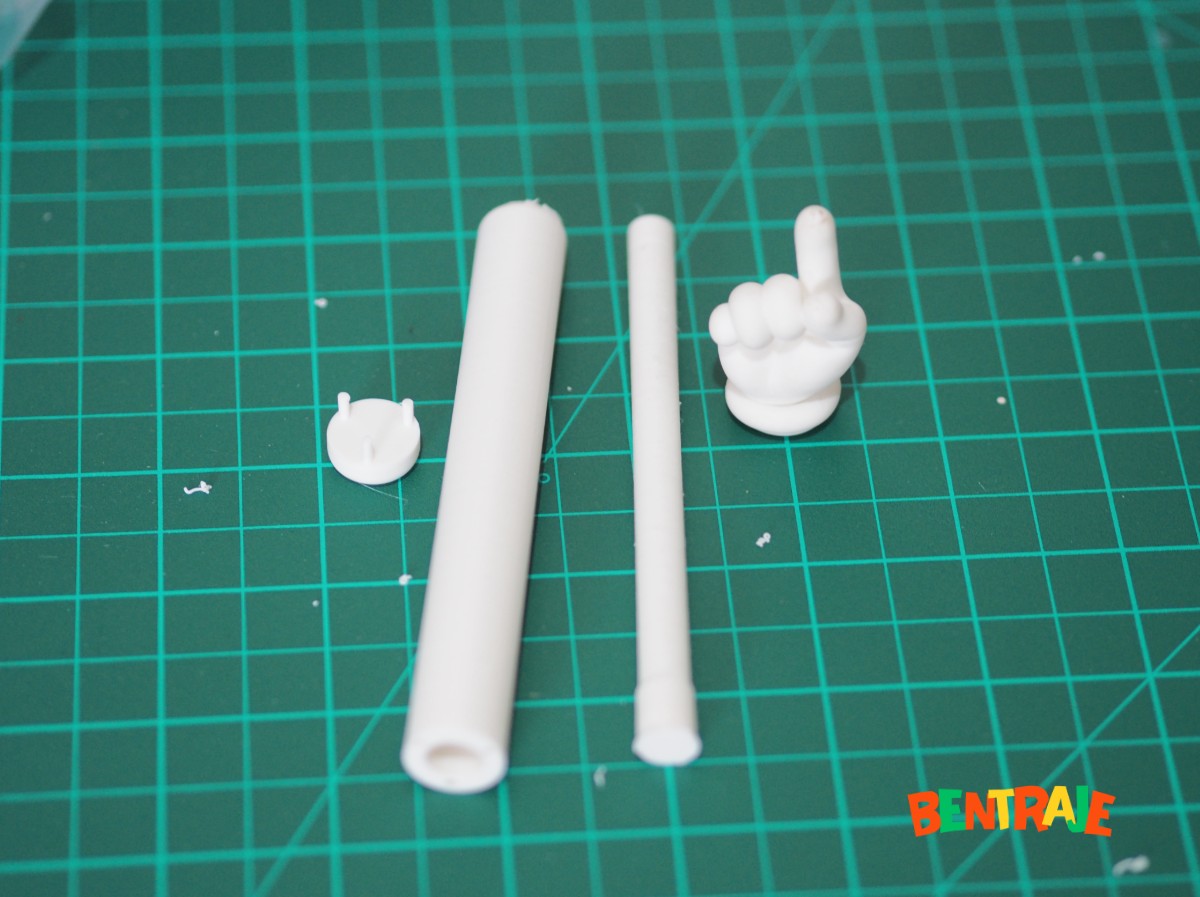
It took me a while to print this, not because of the duration, but because of multiple failed prints. This model made me realize that not everything on MakerWorld is truly "ready to print." For this specific model, I had to enable a brim, print the parts on separate plates, and significantly lower the printing speed. The connectors eventually broke off when I was putting it together, so I just decided to glue it.
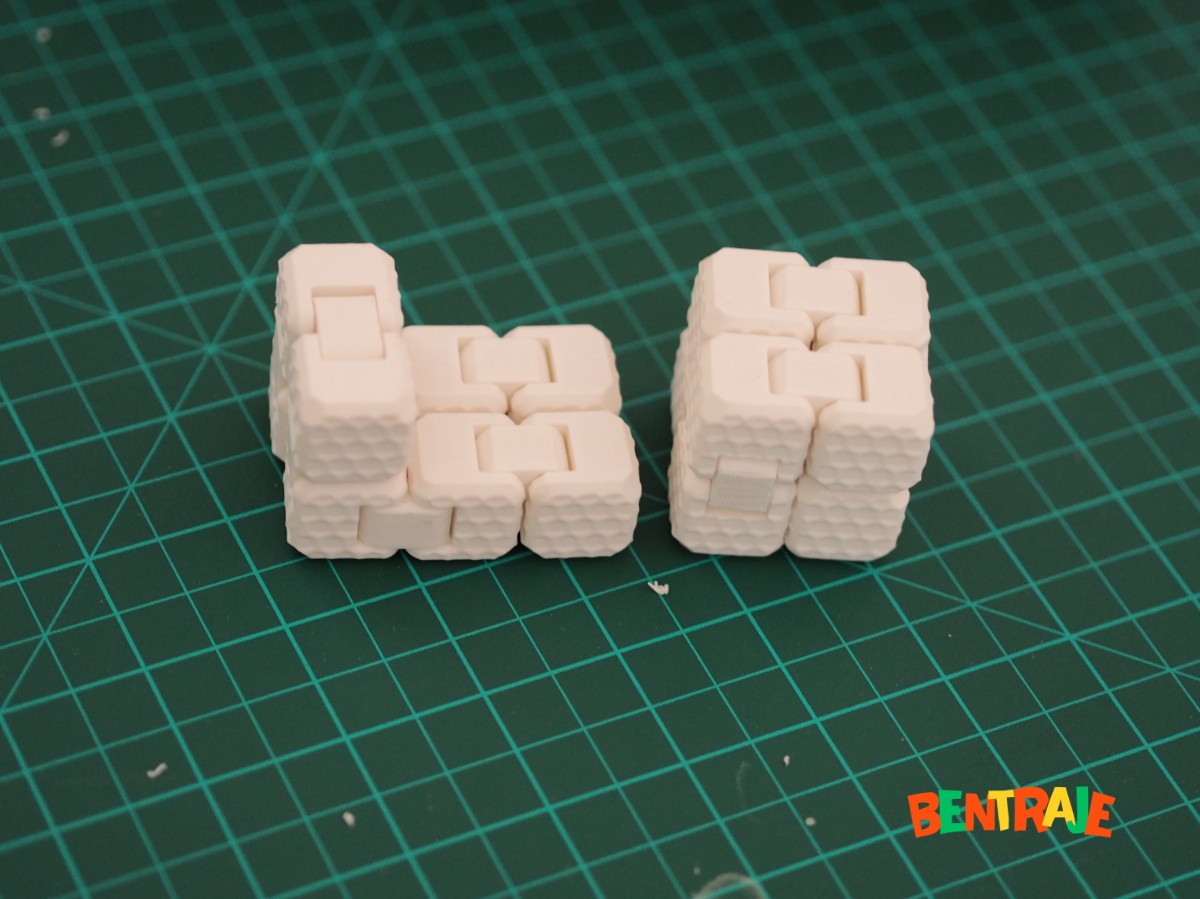
This one is a print-in-place model. I'm not really a fidget person, but I find myself fiddling with this mindlessly when I'm reading something on my screen. It actually helps keep me focused.
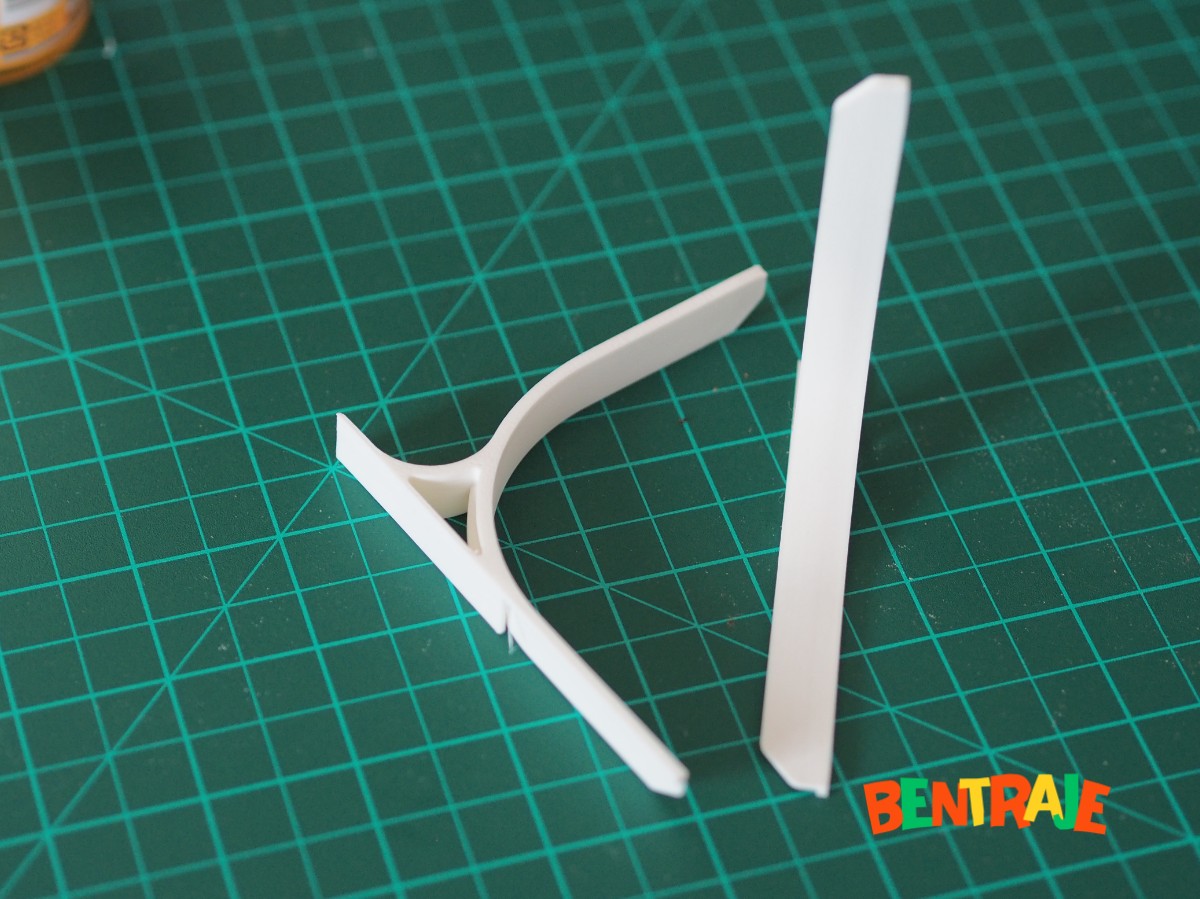
I printed this because of its minimalist footprint, but I think I need something thicker and wider. While this particular model works, it's a bit finicky to put together, and once assembled, it easily comes apart. The paper tension can fight against the structure. It only comfortably fits 160 gsm paper; anything heavier than that won't slide in.
Functional 3D Prints: Household Tools
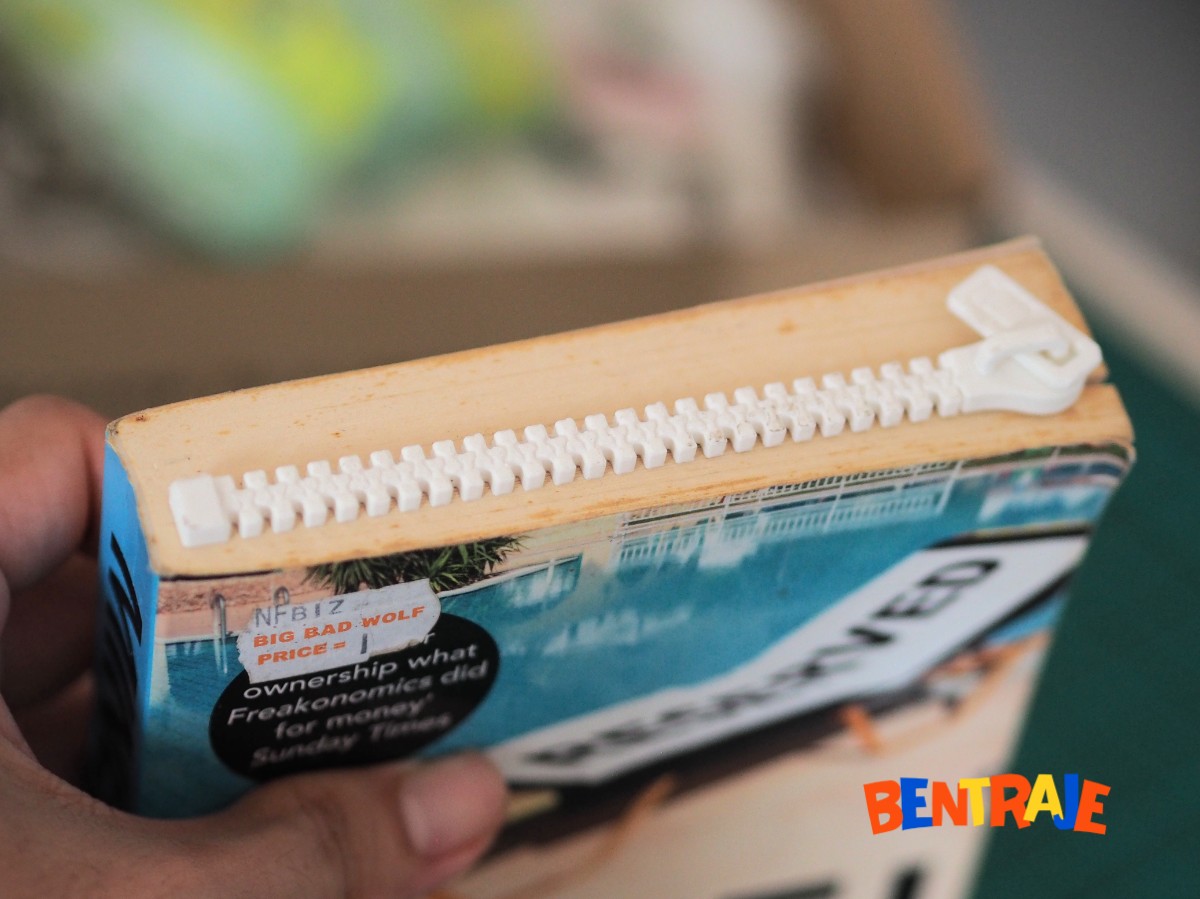
This is a fancy, functional print. It was also my first time encountering bed warping. I learned the hard way that I should wait longer for the build plate to cool down before removing the print (which is actually one of the main reasons I ended up buying a second plate).
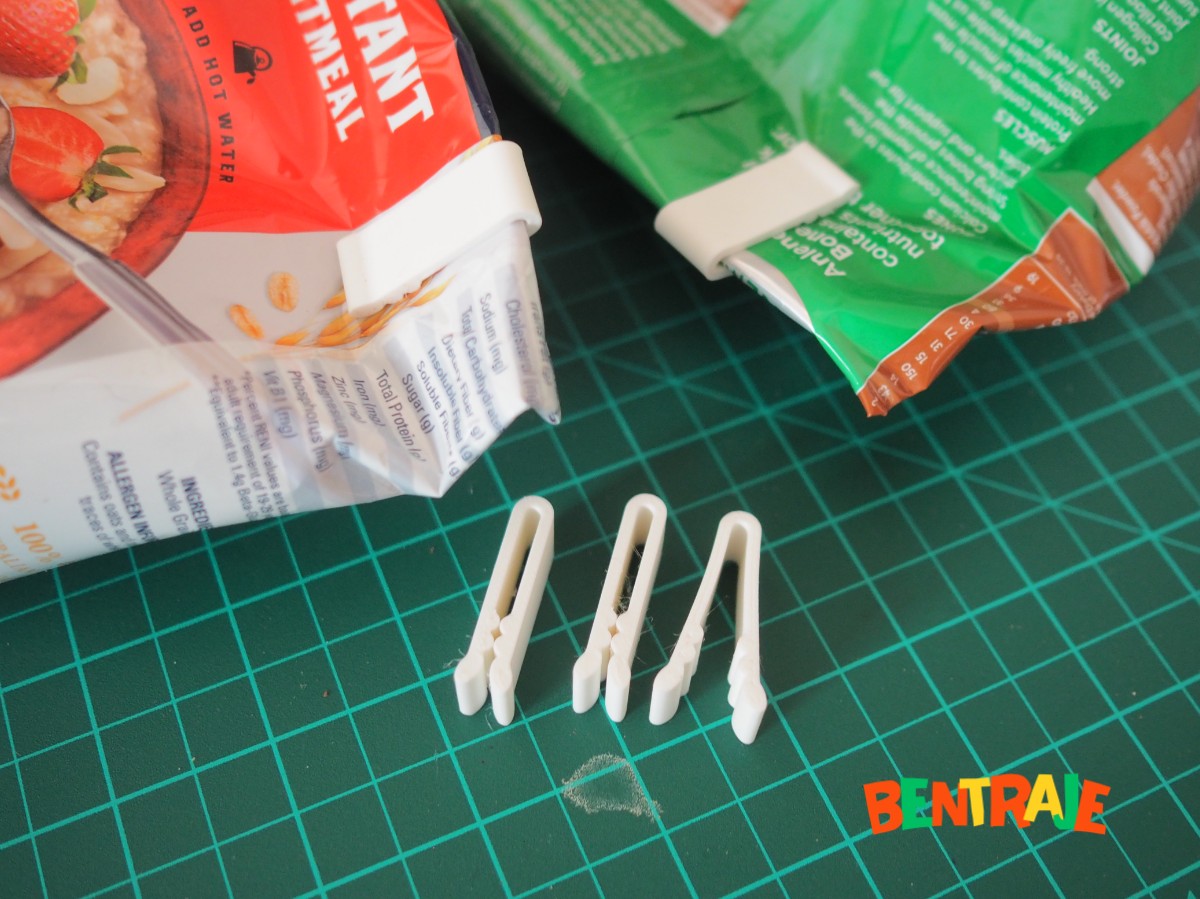
By far, this is the model I ended up printing the most. It's incredibly easy to print, but the problem is that it doesn't retain its original shape after long-term use. The rightmost model in the photo has already been used extensively and can no longer clip properly. I guess this is the bane of using Matte PLA filaments for functional, load-bearing parts.
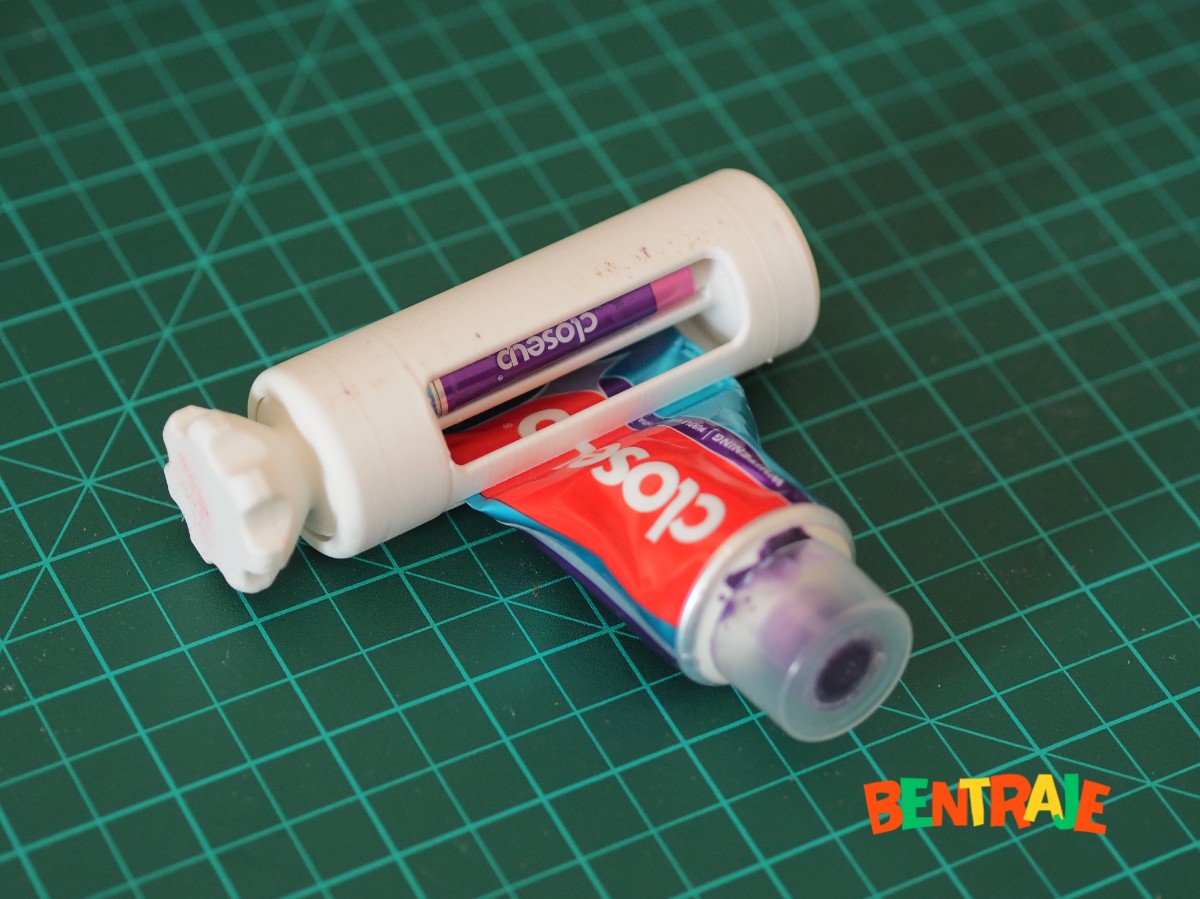
The interesting thing about this model is that it prints in place and is fully assembled right off the bed. Looking at other models, this seems to be somewhat of a norm for this specific tool. Still, while I appreciate the convenience, I prefer printing in parts—it makes it much easier to replace a single piece if something breaks. But for a print that takes under 3 hours, it works just fine for me.
It functions as expected, though I have to be careful when twisting it since I can feel the tension. Again, this is PLA, which is nowhere near as durable as ABS.
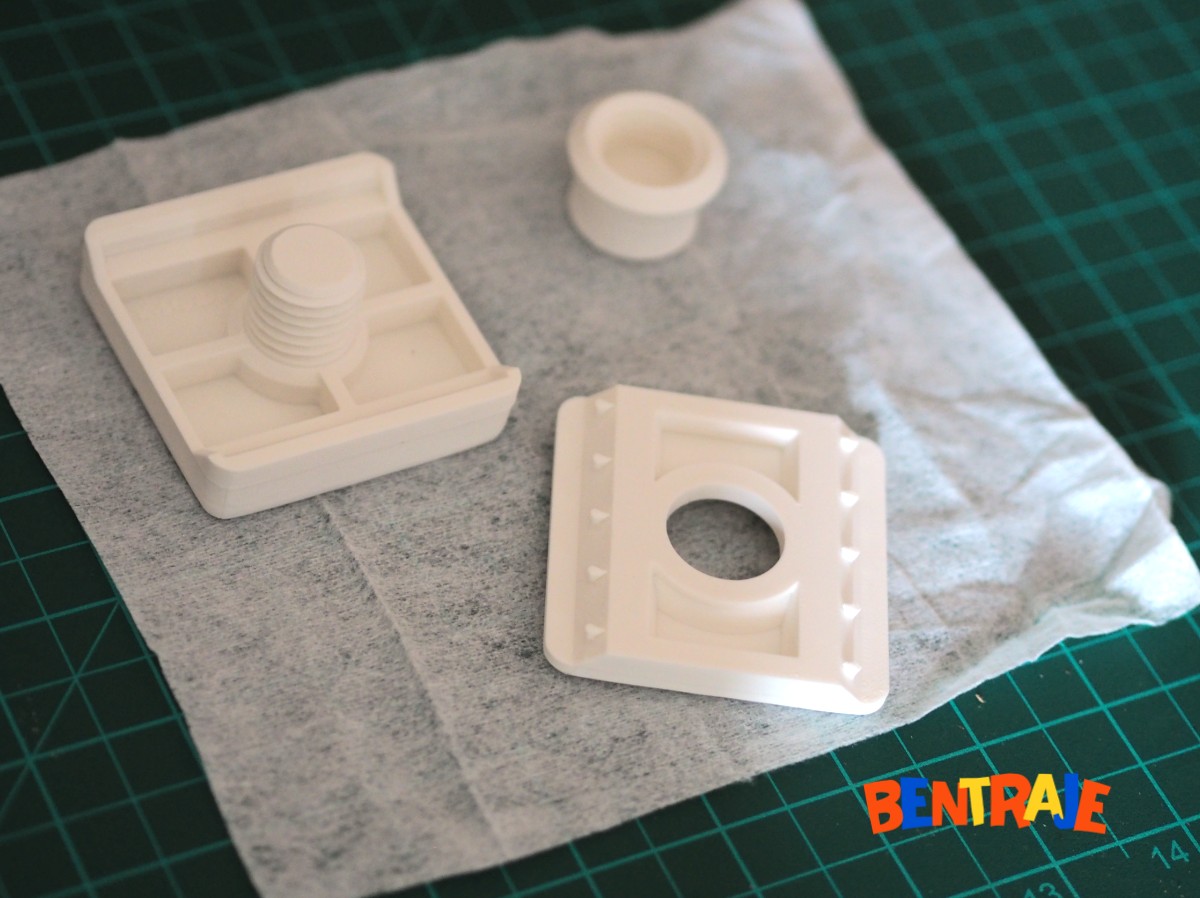
This is advertised as a 3D printer bed plate cleaner, but I can see myself using it for other things, like cleaning any flat surface. Quick note: If you are using this for its intended purpose, use a dry face sheet and Isopropyl Alcohol (IPA) rather than ethyl alcohol.
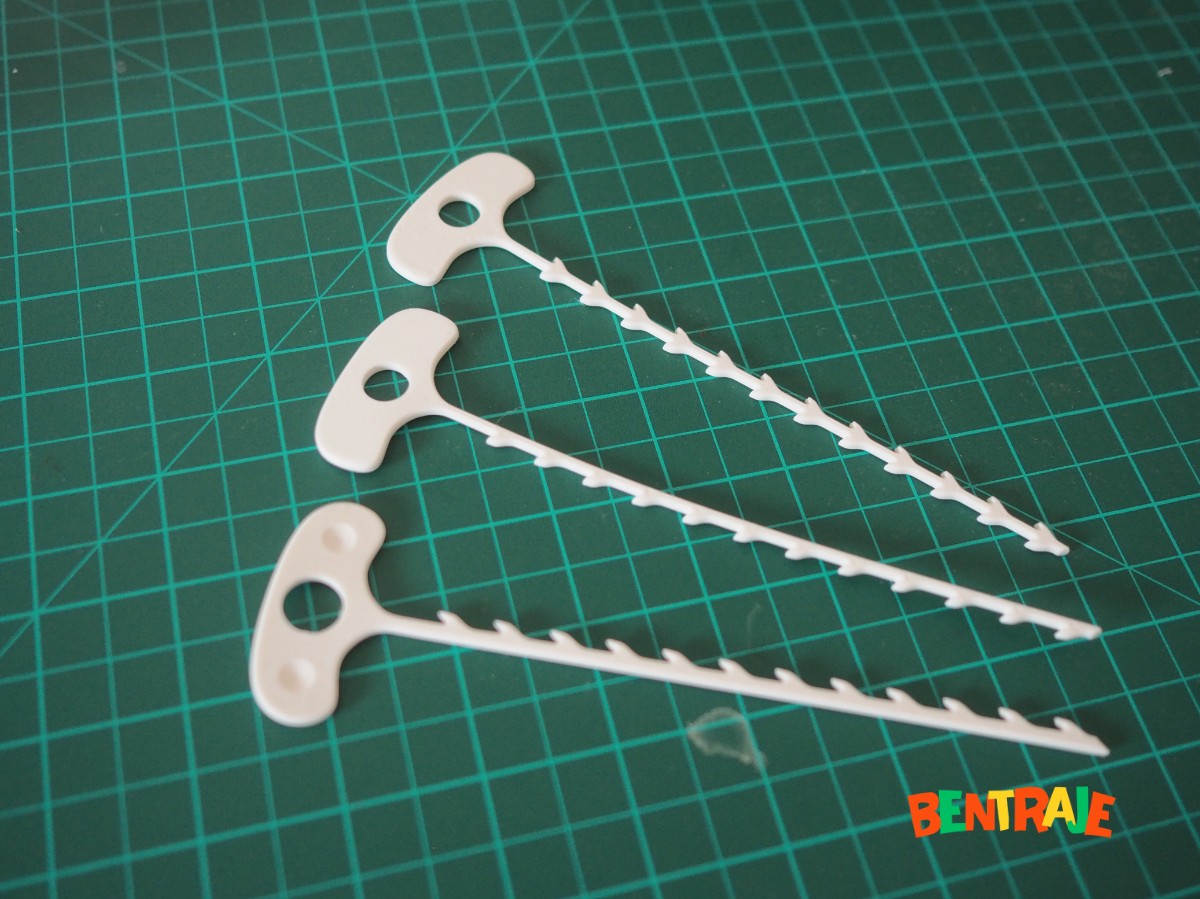
Since this is PLA, I can easily see it snapping off and clogging your sink when it fails. It works, but you really have to be careful. (No actual pictures of this item at work—too dirty!)
Hobbies and Gadgets
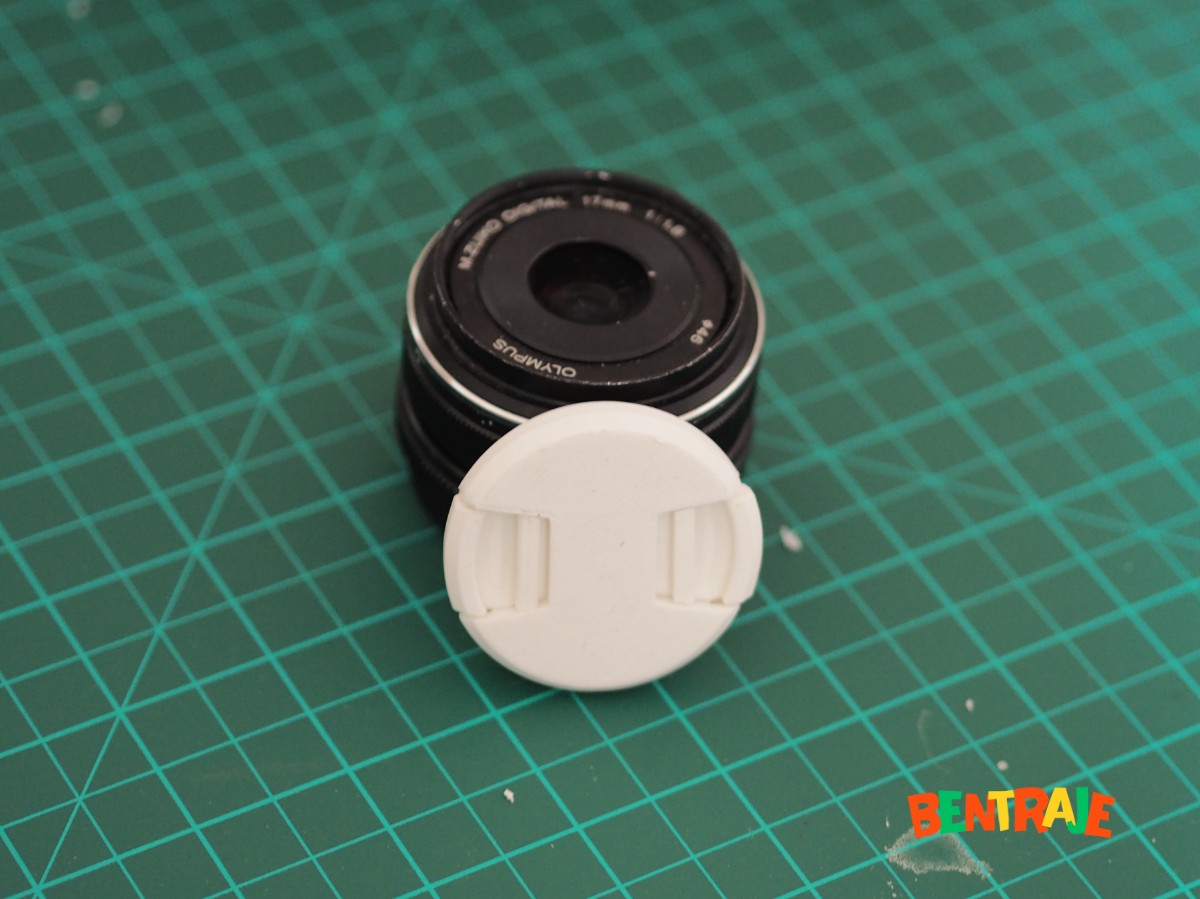
A no-brainer print for someone who dabbles with interchangeable lens cameras. It serves as another reminder to maybe try PETG next time. This PLA print isn't very flexible, and I can feel that it might break soon.
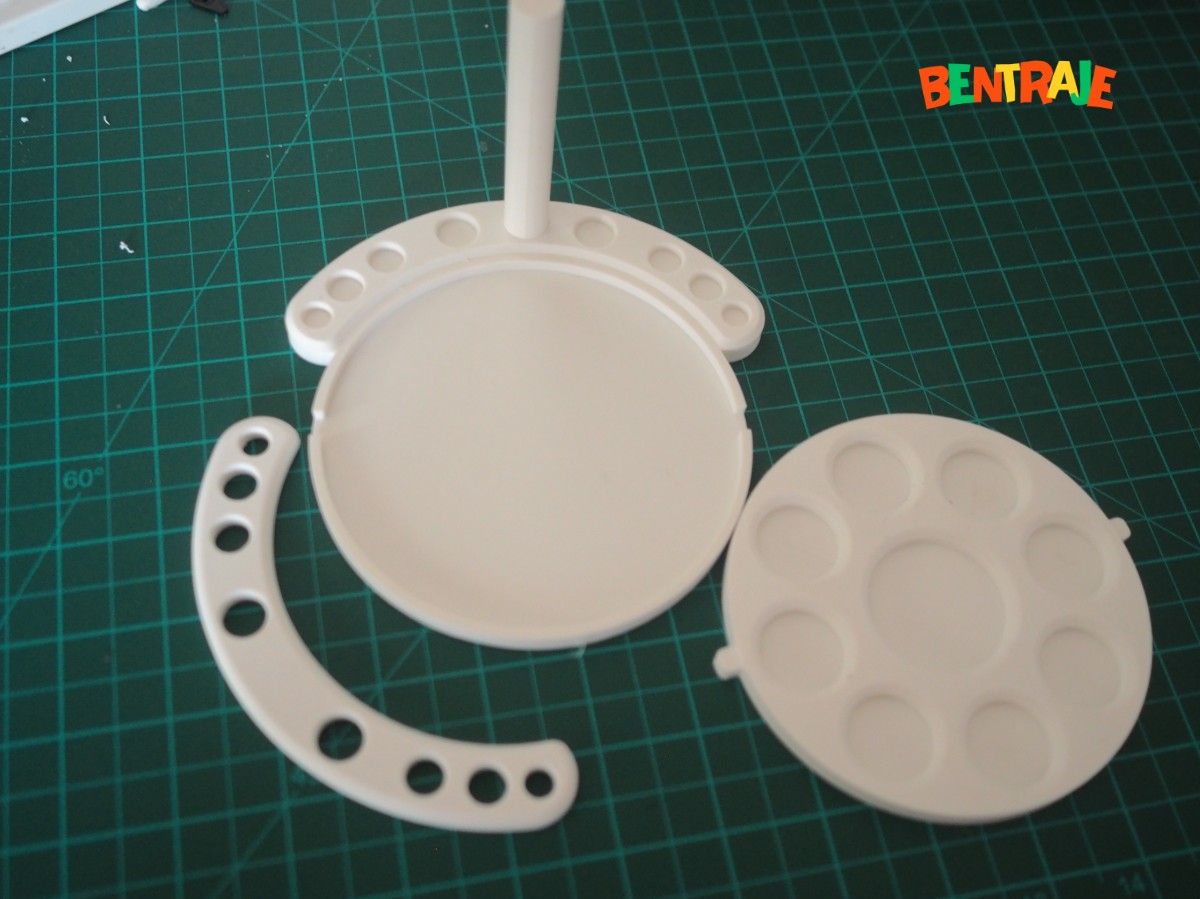
I don't really plan on buying a multi-color system (like the Bambu AMS) anytime soon, and even if I do, I'd probably get a separate printer dedicated to it. So for now, I'm thinking of painting directly over my models (something I have absolutely no experience in). But it never hurts to prepare, so I printed this color palette mixer in advance.
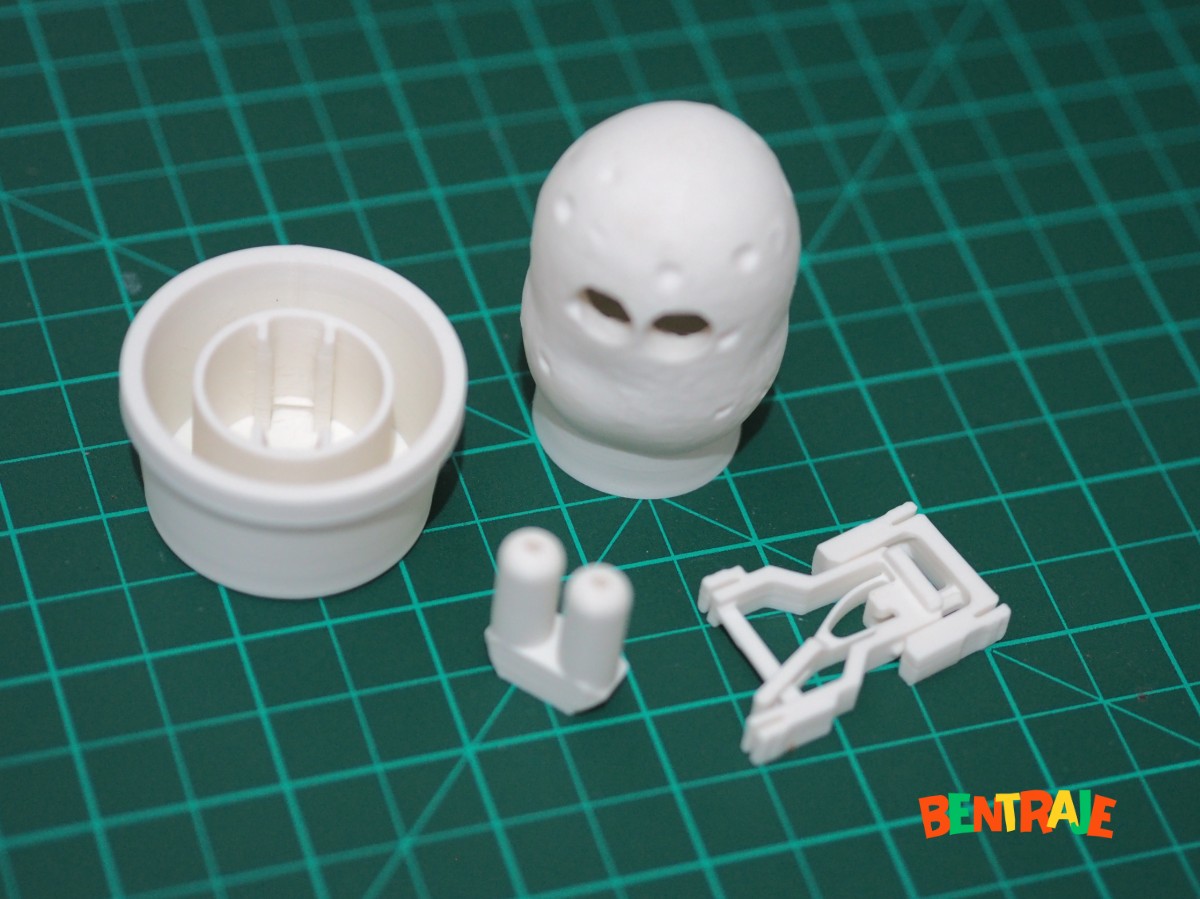
It's not really a mechanical clicker per se, but you press it and it pushes the eyes out. It's pretty funny and serves as a good case study for understanding internal print mechanisms. I suppose it could be repurposed as an actual clicker by attaching a mount below the existing mechanism.
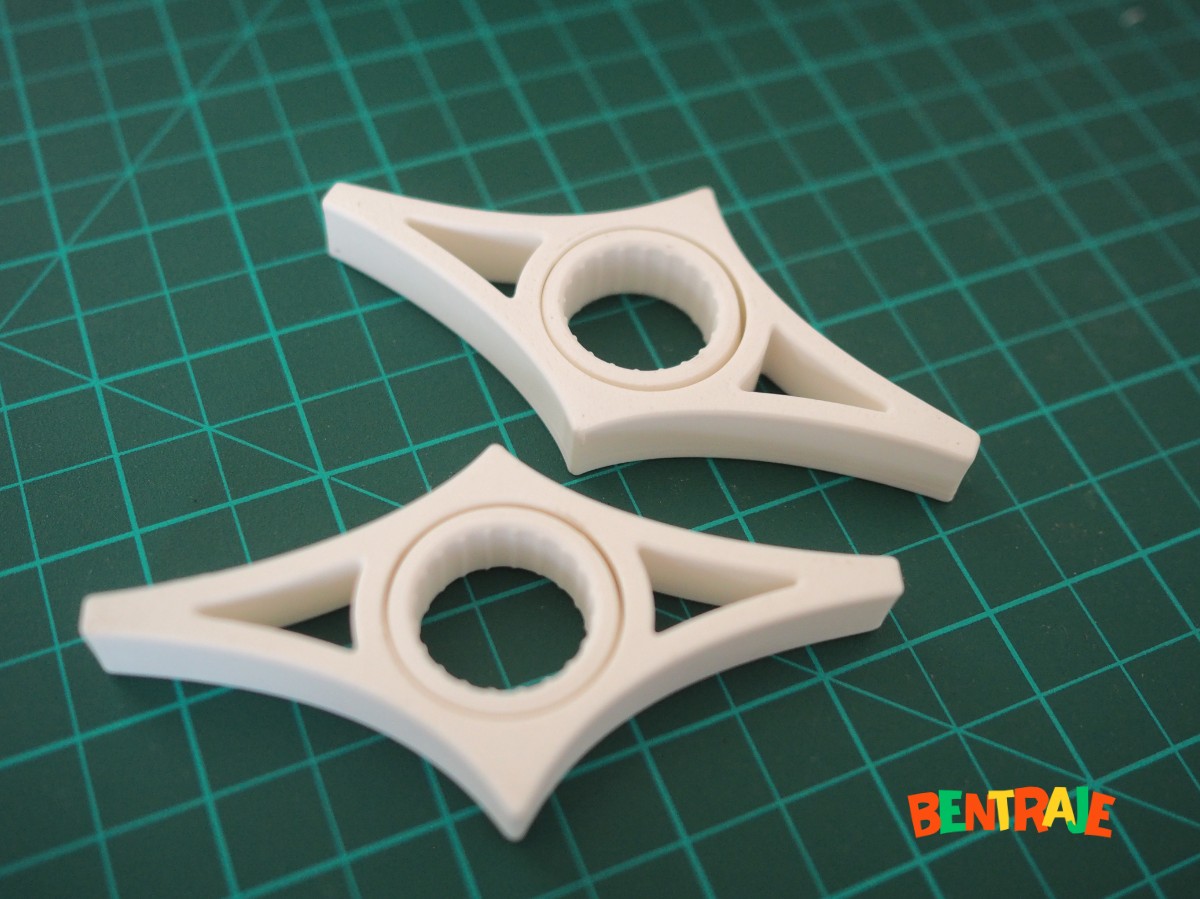
This seems great in concept, but maybe it's just me—I don't find it particularly useful and would rather just hold the book directly.
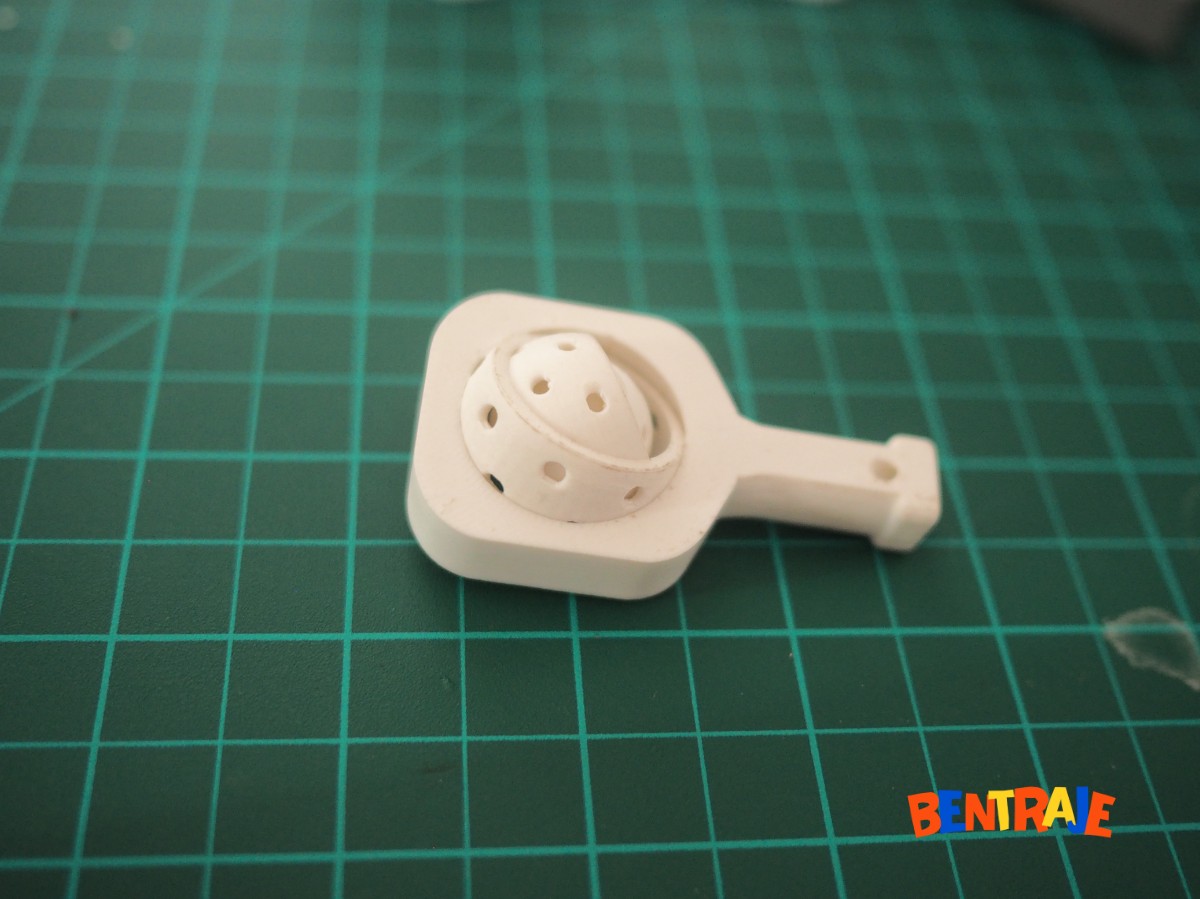
I don't see myself printing a lot of keychains, but it doesn't hurt to try. It made me realize why so many people sell these: not only can they be personalized easily, but they also cost a fraction of a cent to print compared to large functional parts. The profit margin for sellers is well beyond comfortable.
P.S. If you're wondering how to track your usage, you can find the total number of printing hours directly in the Bambu Lab machine's UI itself, not on the mobile app or desktop slicer software.