Grooming
https://www.sidefx.com/tutorials/grooming-barry-bacon-part-1/
https://www.sidefx.com/tutorials/introduction-to-grooming-in-houdini-19-hair-and-fur/
usually the hair gen is duplicating the hair around the area of a guide. making it a circular pattern. this looks unnatural. for this reason do ah density mask to have a smooth and natural transitions
Instead of using the paint attributes. You can also use custom skin. Basically have a hair scalp as a the emitter but on the guide groom, you can use a different hair collission.
Groom Culll. Remove through density. recache strokes to update everything in groom tools. groom guide. paint group.
- https://renderman.pixar.com/from-hick-to-hipster
- Every hairstyle is different, but most of the time you will end up using the same modifiers. What makes a difference are their settings and combinations.
- The most common modifiers are Clump, Noise, Bend, and Length.
- Variation is the other key aspect for getting realistic hair and Masks are very important for this. Use them to drive as many attributes as you can, because hair consists of about 150K individual hair strands that, depending on many elements (dirt, age, length, gender, etc.), create a wide range of patterns.
- i@active = 1;
- Brushing and stroke work should be done on the guides, not the generated hair.
- Grooming should always be done on the static mesh, not the animated mesh
- comb node for coming normals haha
- Varying segment counts per curve is useful when grooming a character with varying hair length. Often it makes sense for longer hairs to have more segment counts and increasing segments for the whole character slows things down.
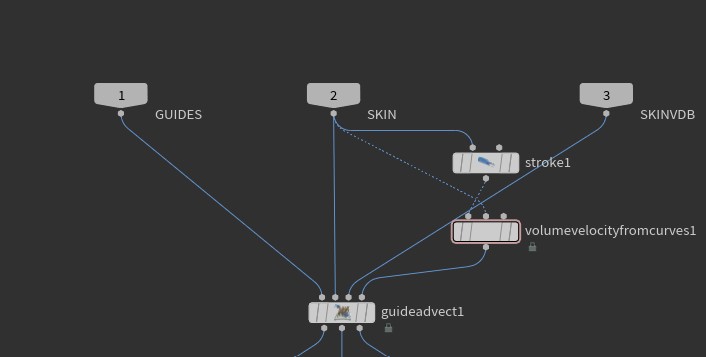
- How to get the hair/fur velocity. one you are inside the guide groom. you can click the curve advect shelf tool to generate the necessary nodes in drawing curves for advection
- Generating fur without any guides is useful for creating things like grass, or very short fur. This saves a significant amount of computation time. Simply turn off the Use Guides checkbox on the Hair Generate object, which will ignore guides completely and create hair straight out from the skin normal as if you didn’t have any guides.
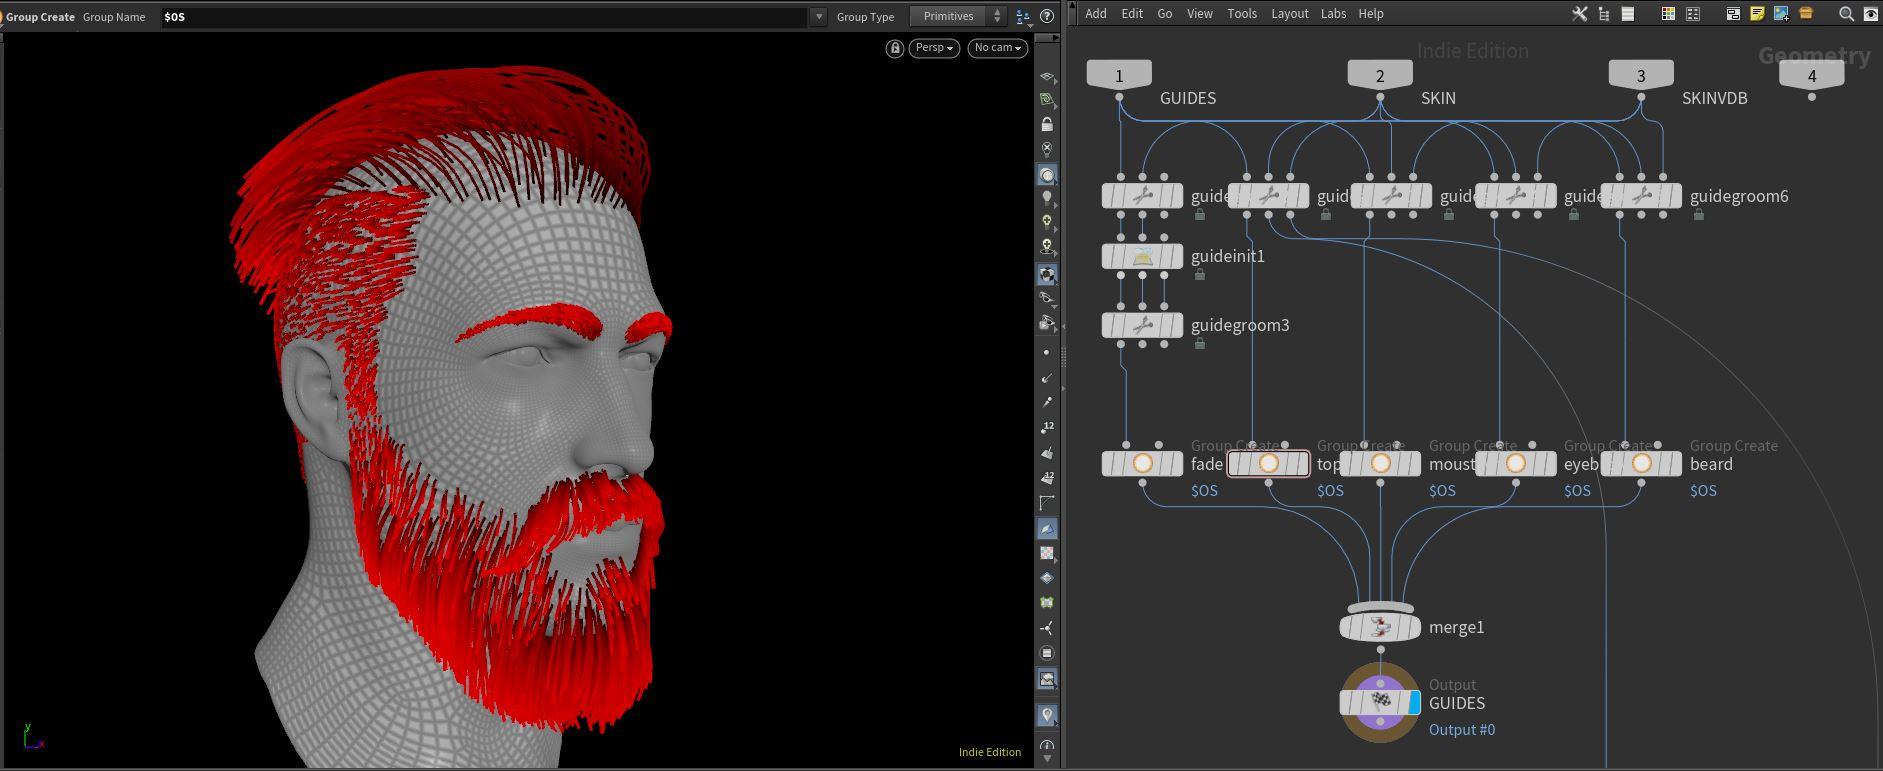
- Guide Groom
- Then Hair Gen
- AUtomatic VDB creation on the groom is bad if its close source
- A Poly Extrude node is used to pull out the base of the neck slightly, and a PolyFill node to seal the hole in the neck. This is to allow for a solid volume for the internal VDB process the guide groom uses.
- Guide Groom is the bomb.
https://www.artstation.com/blogs/elizabeth_h/ooba/beginners-guide-for-fur-grooming-in-houdini
An important note: there is a distinction between density and influence radius. If you see the distribution of hairs like in the left image above, it means the influence radius on the Hair Generate is too low, you can set this higher to have the hairs spread out more from each guide, thus increasing each guide's radius of influence. Should you find that the hair is spilling into unwanted areas, you can assign an attribute override and paint a mask to constrain the hairs to only grow in the desired location.
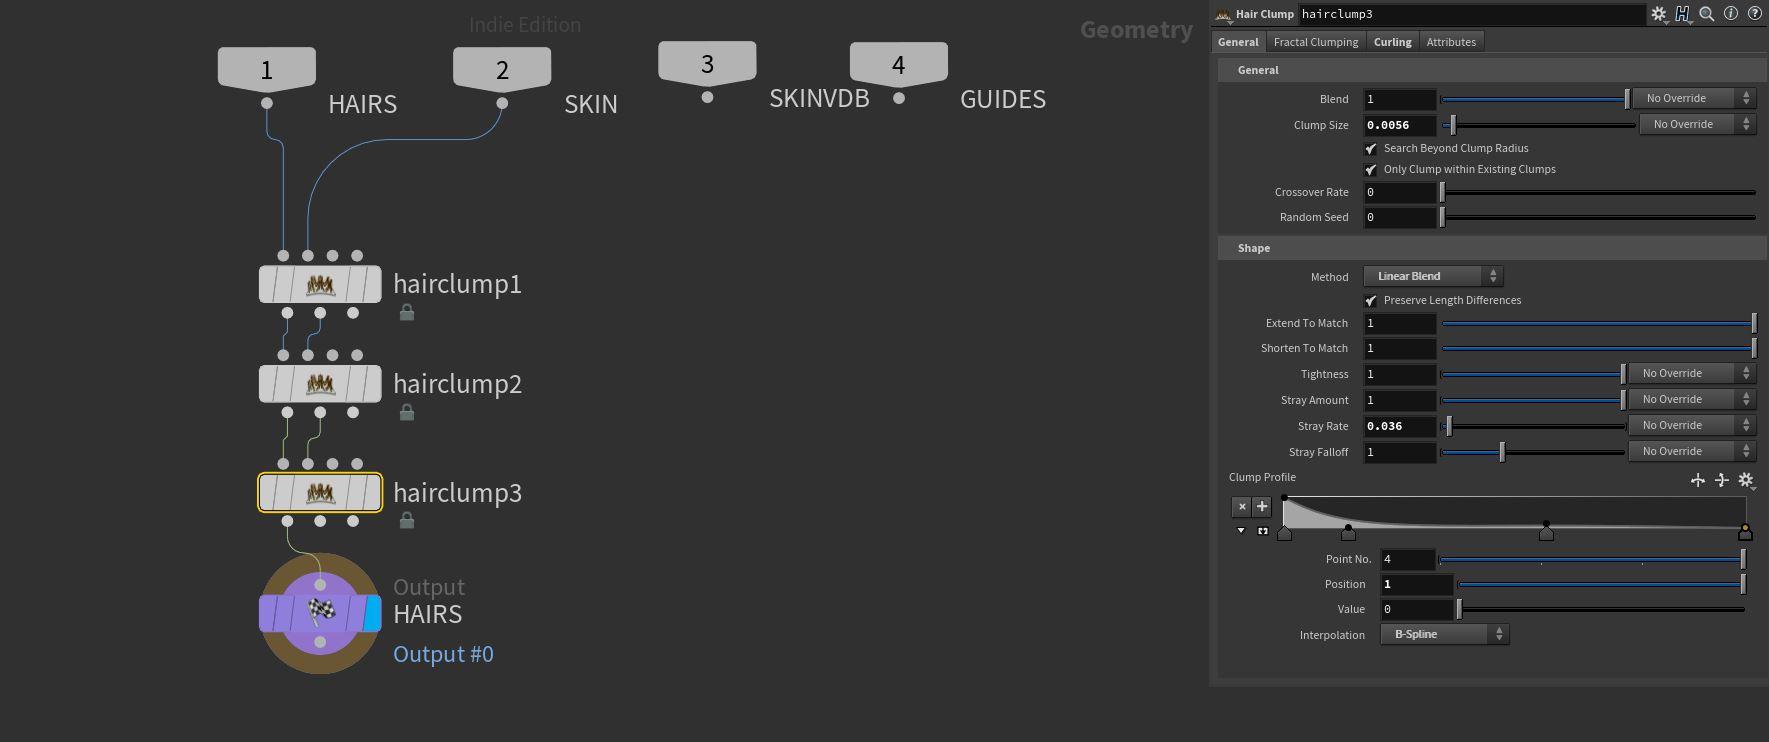
Using the top of the hair as an example, we will go over the Clump node and its function. One of the most powerful tools in the grooming toolkit, clumping is fundamental in creating a realistic groom.
The next tool we will discuss is the Guide Process node. This is a node that allows for a number of different modifiers to be applied to the hair easily. It is my preference to use this only after the clumping process as otherwise, it may result in nullifying some of the processes.
The two most commonly used are Set Length, which allows length adjustments of the hair. This is very useful to add randomness to hair length among other applications.
The other is Frizz, it's is a basic noise modifier
Guide Groomo Plant Not working. It works straightforward for single mode but for scatter. need to to fiddle with it more.
The guide groom tool is a manual, more Xgen way of grooming, and it caches everything you do. That’s the most important thing to remember because if something before it in the network changes, you have to re-cache your guide grooms to show what it looks like with your edits. Note, sometimes the re-cache button doesn’t always work nicely and you’ll just have to do it again.


General Workflow
You can also do these object node workflow in SOPs level. You will need to render the Hair Generate node, not the [Guide Groom] Generates guide curves from a skin geometry and does further processing on these using an editable SOP network contained within the node.") node. However, the Hair Generate node pulls its data from the Guide Groom"Generates guide curves from a skin geometry and does further processing on these using an editable SOP network contained within the [[broken links output]] node.") node, so you will need to turn the display back on before rendering.
Grooming Workflow
-
Can be done though procedural planting of guides or through manual planting of guides
-
Procedural planting (by default) is done though the object level parameter. Of course, you still make procedural guides through SOPs. You need to set-up manually the attributes though. In the SOPs route, you can use the hairgen as the initial source of guides and later on chain another hairgen node.
-
Manual planting of guides can be done through the guide groom node.
-
Guide Groom is an uber node where you can specify several options/mode in one node.
- This node provides the most artistic control.
- The gotcha is that this node is not procedural. It caches the previous operation. So, if you pipe a different source from the initial input, it won't change.
- I kinda like this. As much as I like procedural workflow, this workflow represents a traditional grooming workflow like in other DCC. I hope there is a somewhat equivalent of this in KineFX.
- Another gotcha for Guide Groom is it does not automatically create a store a roots group. So you need to recreate it like though using a For Each Block.
-
Generally, procedural guides is better for fur while manual guides is better for stylized long hairs.
-
Procedural guides directions are initially based on the geo's normals.
-
Grooming should always be done on a static mesh, not an animated one.
-
You can then use the Wind Direction parameter to set the direction of the fur and the Lift slider to create an initial look.
Reguide Node
After placing your guides, reguide seems to be like a good way to debug.
Guide Advect Node
- An effecient and effective way to control the the direction of guides. Best for Furs.

Bend (Guide Groom Node)
- For most of the animal fur, the proper bend angle is a negative value.
Frizz (Guide Groom Node)
- But with noise mask pala!
Set Length (Guide Groom Node)
- Don't use the Set. Use the Multiply Node.
- If its too short, use two set length mode. The last one would be for setting the minimum.
Sculpt With Physics (Guide Groom Node)
Deform Workflow
Simulation Workflow
-
https://www.reddit.com/r/Houdini/comments/vho67h/vellum_deform_high_res_groom_with_simulated_guides/
-
External DOP .
Generation Workflow
To check
- Use the Isolate Groom Parts tool to hide hairs and guides that you are not working on. This will help create less confusion in your scene.
- By varying segment counts per curve, you can create a great sense of natural variation in your fur setup. Longer hairs should have more segment counts.
- But there is actuall an error if there are several segment counts?
https://www.creativebloq.com/advice/houdini-software/2
Grooming Artists
https://www.deborahrfowler.com/HoudiniResources/Fur.html https://cnidaria.art/cg-reference/houdini/hair-and-fur/tips-and-tricks/
Ref
- https://www.sidefx.com/tutorials/crash-course-in-character-grooming/
- https://www.sidefx.com/tutorials/introduction-to-grooming-in-houdini-19-hair-and-fur/
- https://creaturegarage.com/playbooks/houdini-for-groomers
- https://www.rendorama.com/en/houdini-tips/hair-and-grooming/
- http://www.mattiaslind.com/blog-1
- http://www.mattiaslind.com/
- http://www.sylvain-nouveau.com/reffx/hair-cloth/
The most comprehensive grooming tutorial https://www.sidefx.com/tutorials/introduction-to-grooming-in-houdini-19-hair-and-fur/ Bacon with the HIP file! https://www.gabrielasalmeron.com/tutorials
https://www.creativebloq.com/advice/houdini-software/2
https://discover.therookies.co/2022/10/07/creature-grooming-in-houdini/
the harder the hair, the fewer points along the line, this is a very important control for vellum, hard hair is most effectively done with a small point number
Fur Cat. https://www.creativebloq.com/advice/houdini-software/2